Last month, after finishing the horse stable book-nook for my sister-in-law, I turned my thoughts to my next project. What should I work on? Should it be one of my unfinished projects? One of the hundreds of ideas I have floating around in this busy brain of mine? Should I search for new inspiration?
In the end, I decided to get to work on a project that actually incorporates all three of these. Some of you may remember that a few years ago, I had posted a picture of a small project that I found really inspired me. I decided on a container for the project and took a few small steps to get started. Since making that very basic start, I set it aside and moved on to other projects. However, since it actually incorporates the concept of an unfinished project, one that I found when searching for inspiration, and one that incorporates new ideas I have had floating in my mind for the last few years, it’s perfect!
A quick review to remind you of the project from a few years ago begins with the picture which inspired me. I know many of you have seen this lovely piece online and I am sure admire it as much as I do. It is so beautiful in its simplicity. Louise did a search for me and, on Pinterest, believes she found the name of the miniaturist behind this wonderful little project: Natalia Volchkova. If this is not the right person, please let me know as I am a firm believer if giving credit where credit is due!

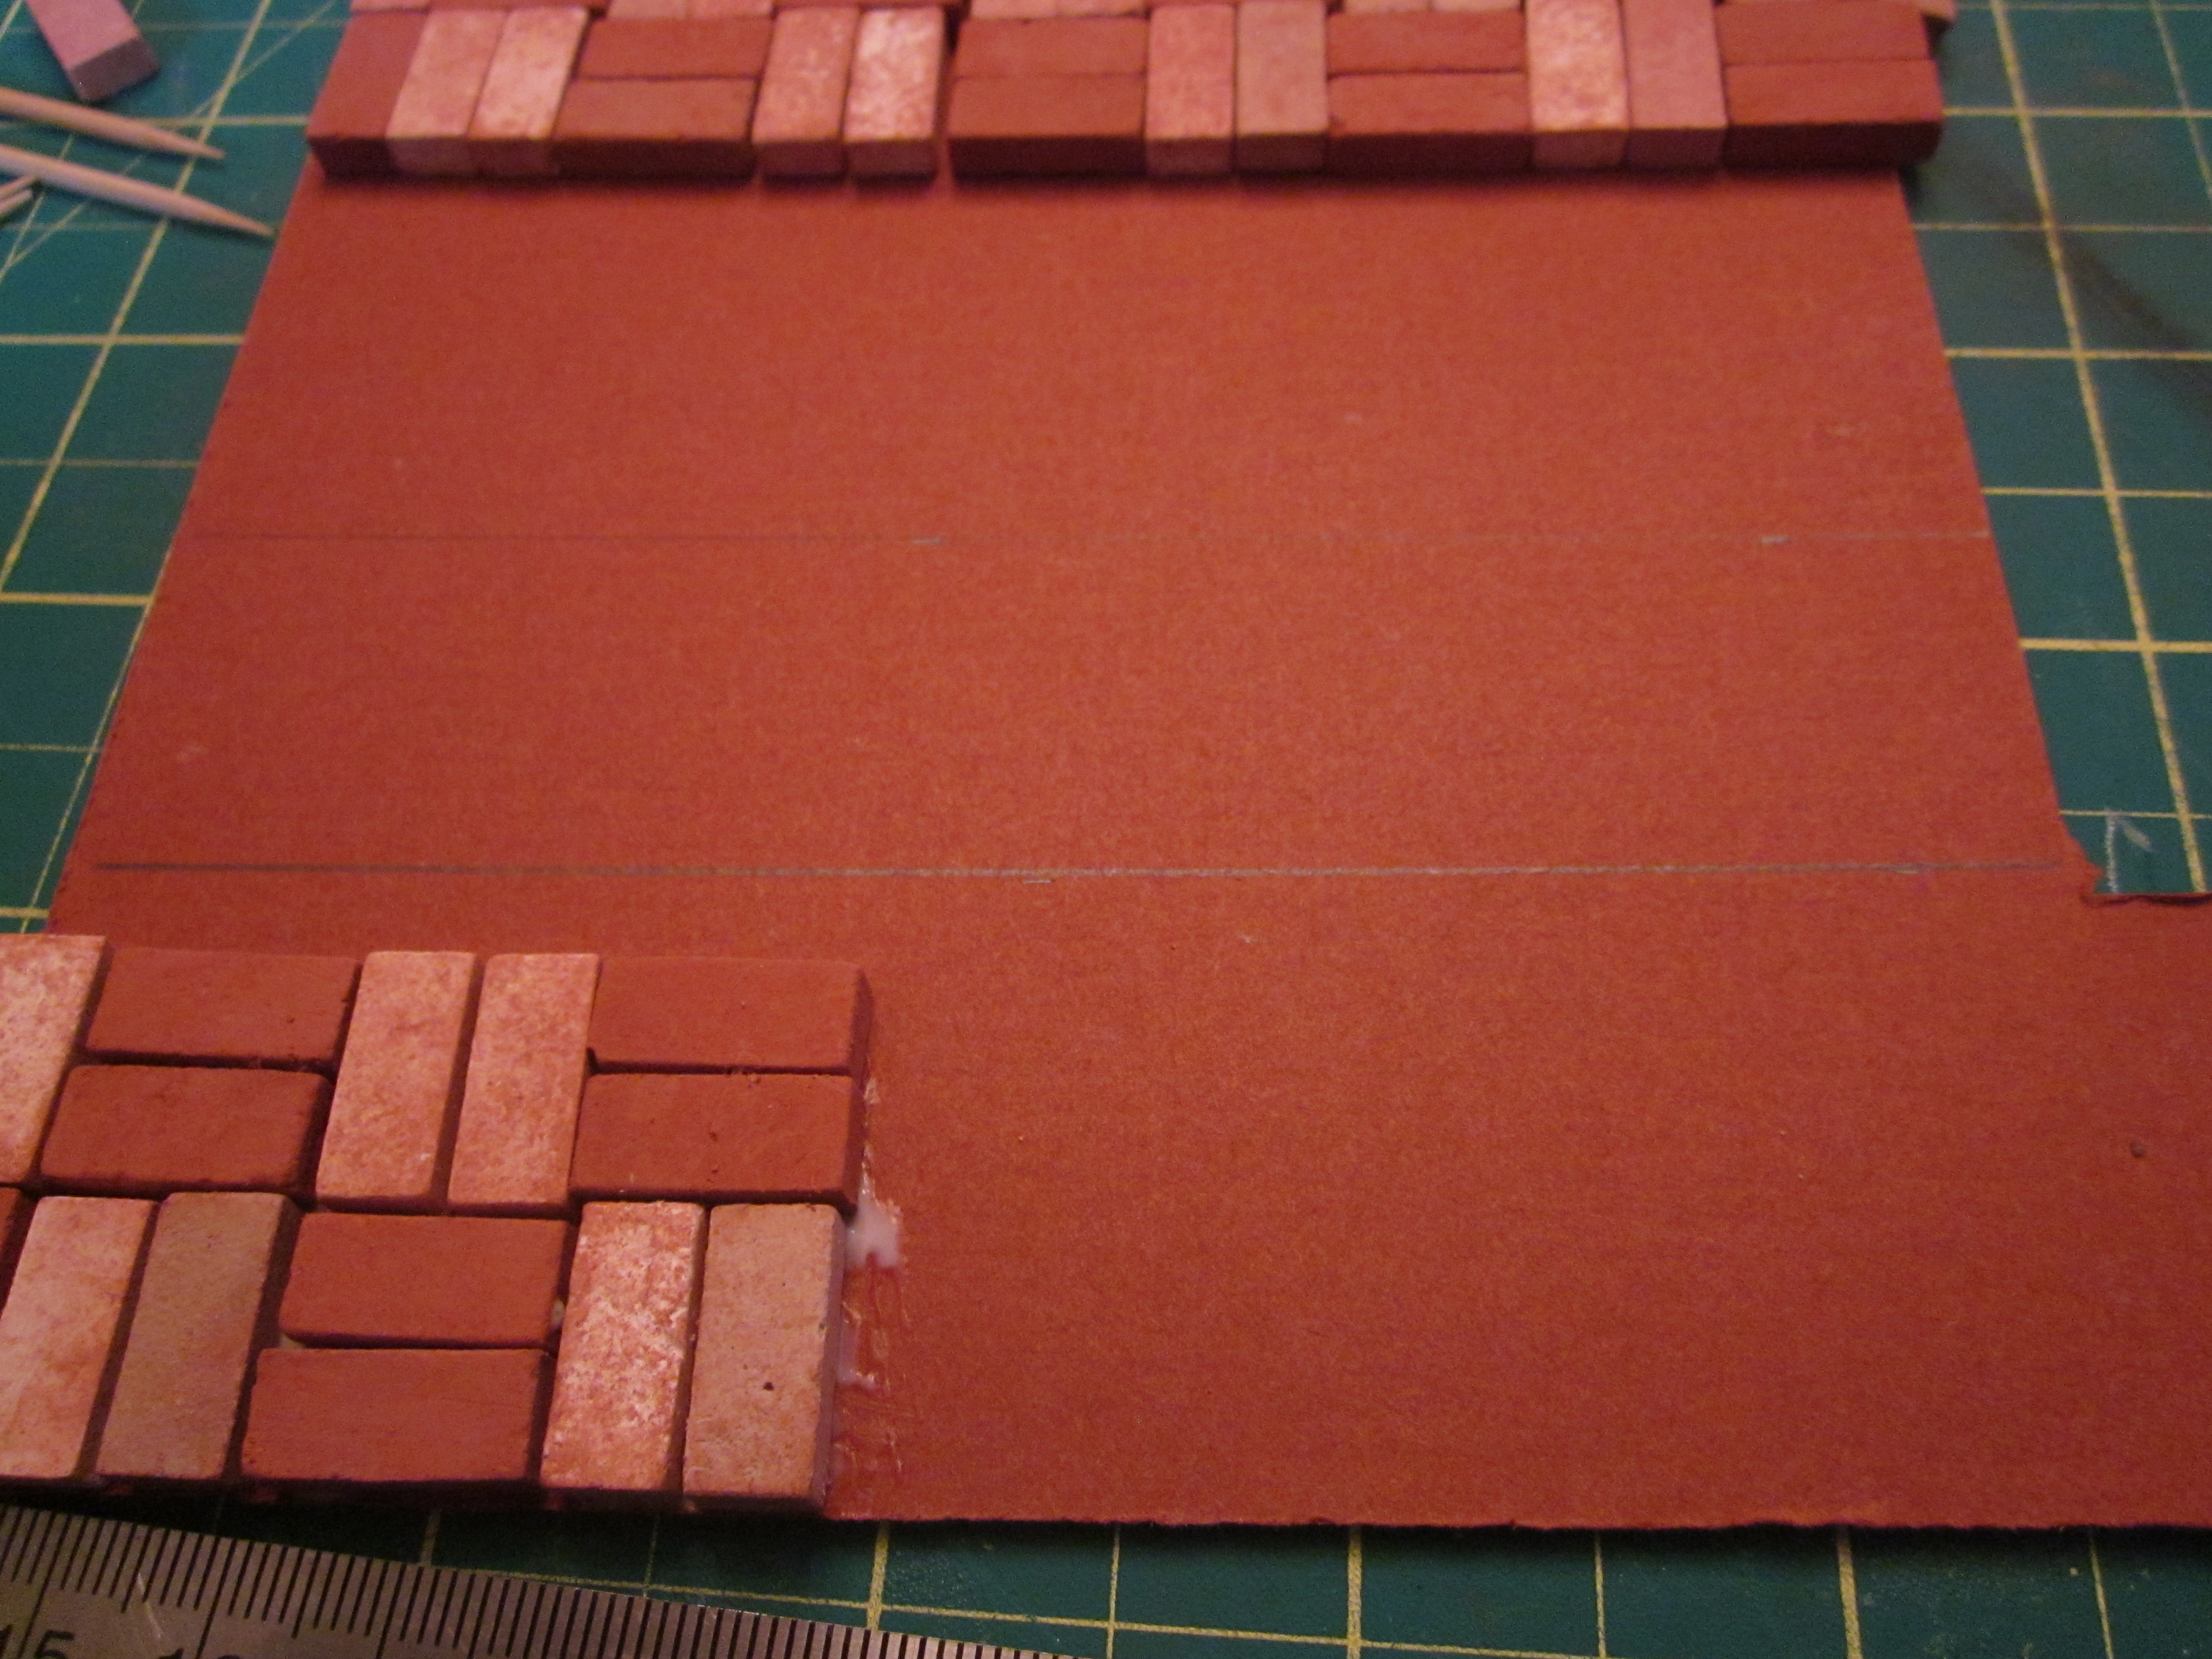
I know you’ve also seen the picture below before, when I first thought about doing a project inspired by the above picture. This is an old, ratty, dirty bird cage I used to use years ago in my outdoor garden decorating. It has sat in the garage for years, gathering dust and grime. The wicker in the bottom edge of the cage and dried and broken and was also looking very sad. So, I removed the wicker, took a metal brush to it to clean off the dirt and dust, and took another look at it from every angle. Having removed the original arched door to the cage I then decided the opening would look better at the back of the project and Bruce removed several of the vertical bars from what had been the back of the cage, making it the new front with a nice wide opening.