In my last post I left off with pictures of the beginning of the floor for my bird cage project. I continued laying the floor in the pattern I had decided on, then left it for a couple of days to make sure it was well dried. Once I was sure it was ready, I sprayed a few coats of sealer on the bricks to make sure they wouldn’t ‘dissolve’ during the grouting process. Then I used ordinary drywall spackle to grout, waited for just a few minutes then used barely damp paper towel to wipe off the excess spackle before it set on the bricks. I put a piece of waxed paper on top and weighted the floor down with a set of heavy books overnight to make sure it didn’t warp while it dried. The next morning, I used a brush and liquid polyurethane to put a final coat on and let that dry for the day, then weighted it down overnight again.
I’m happy with how it turned out.


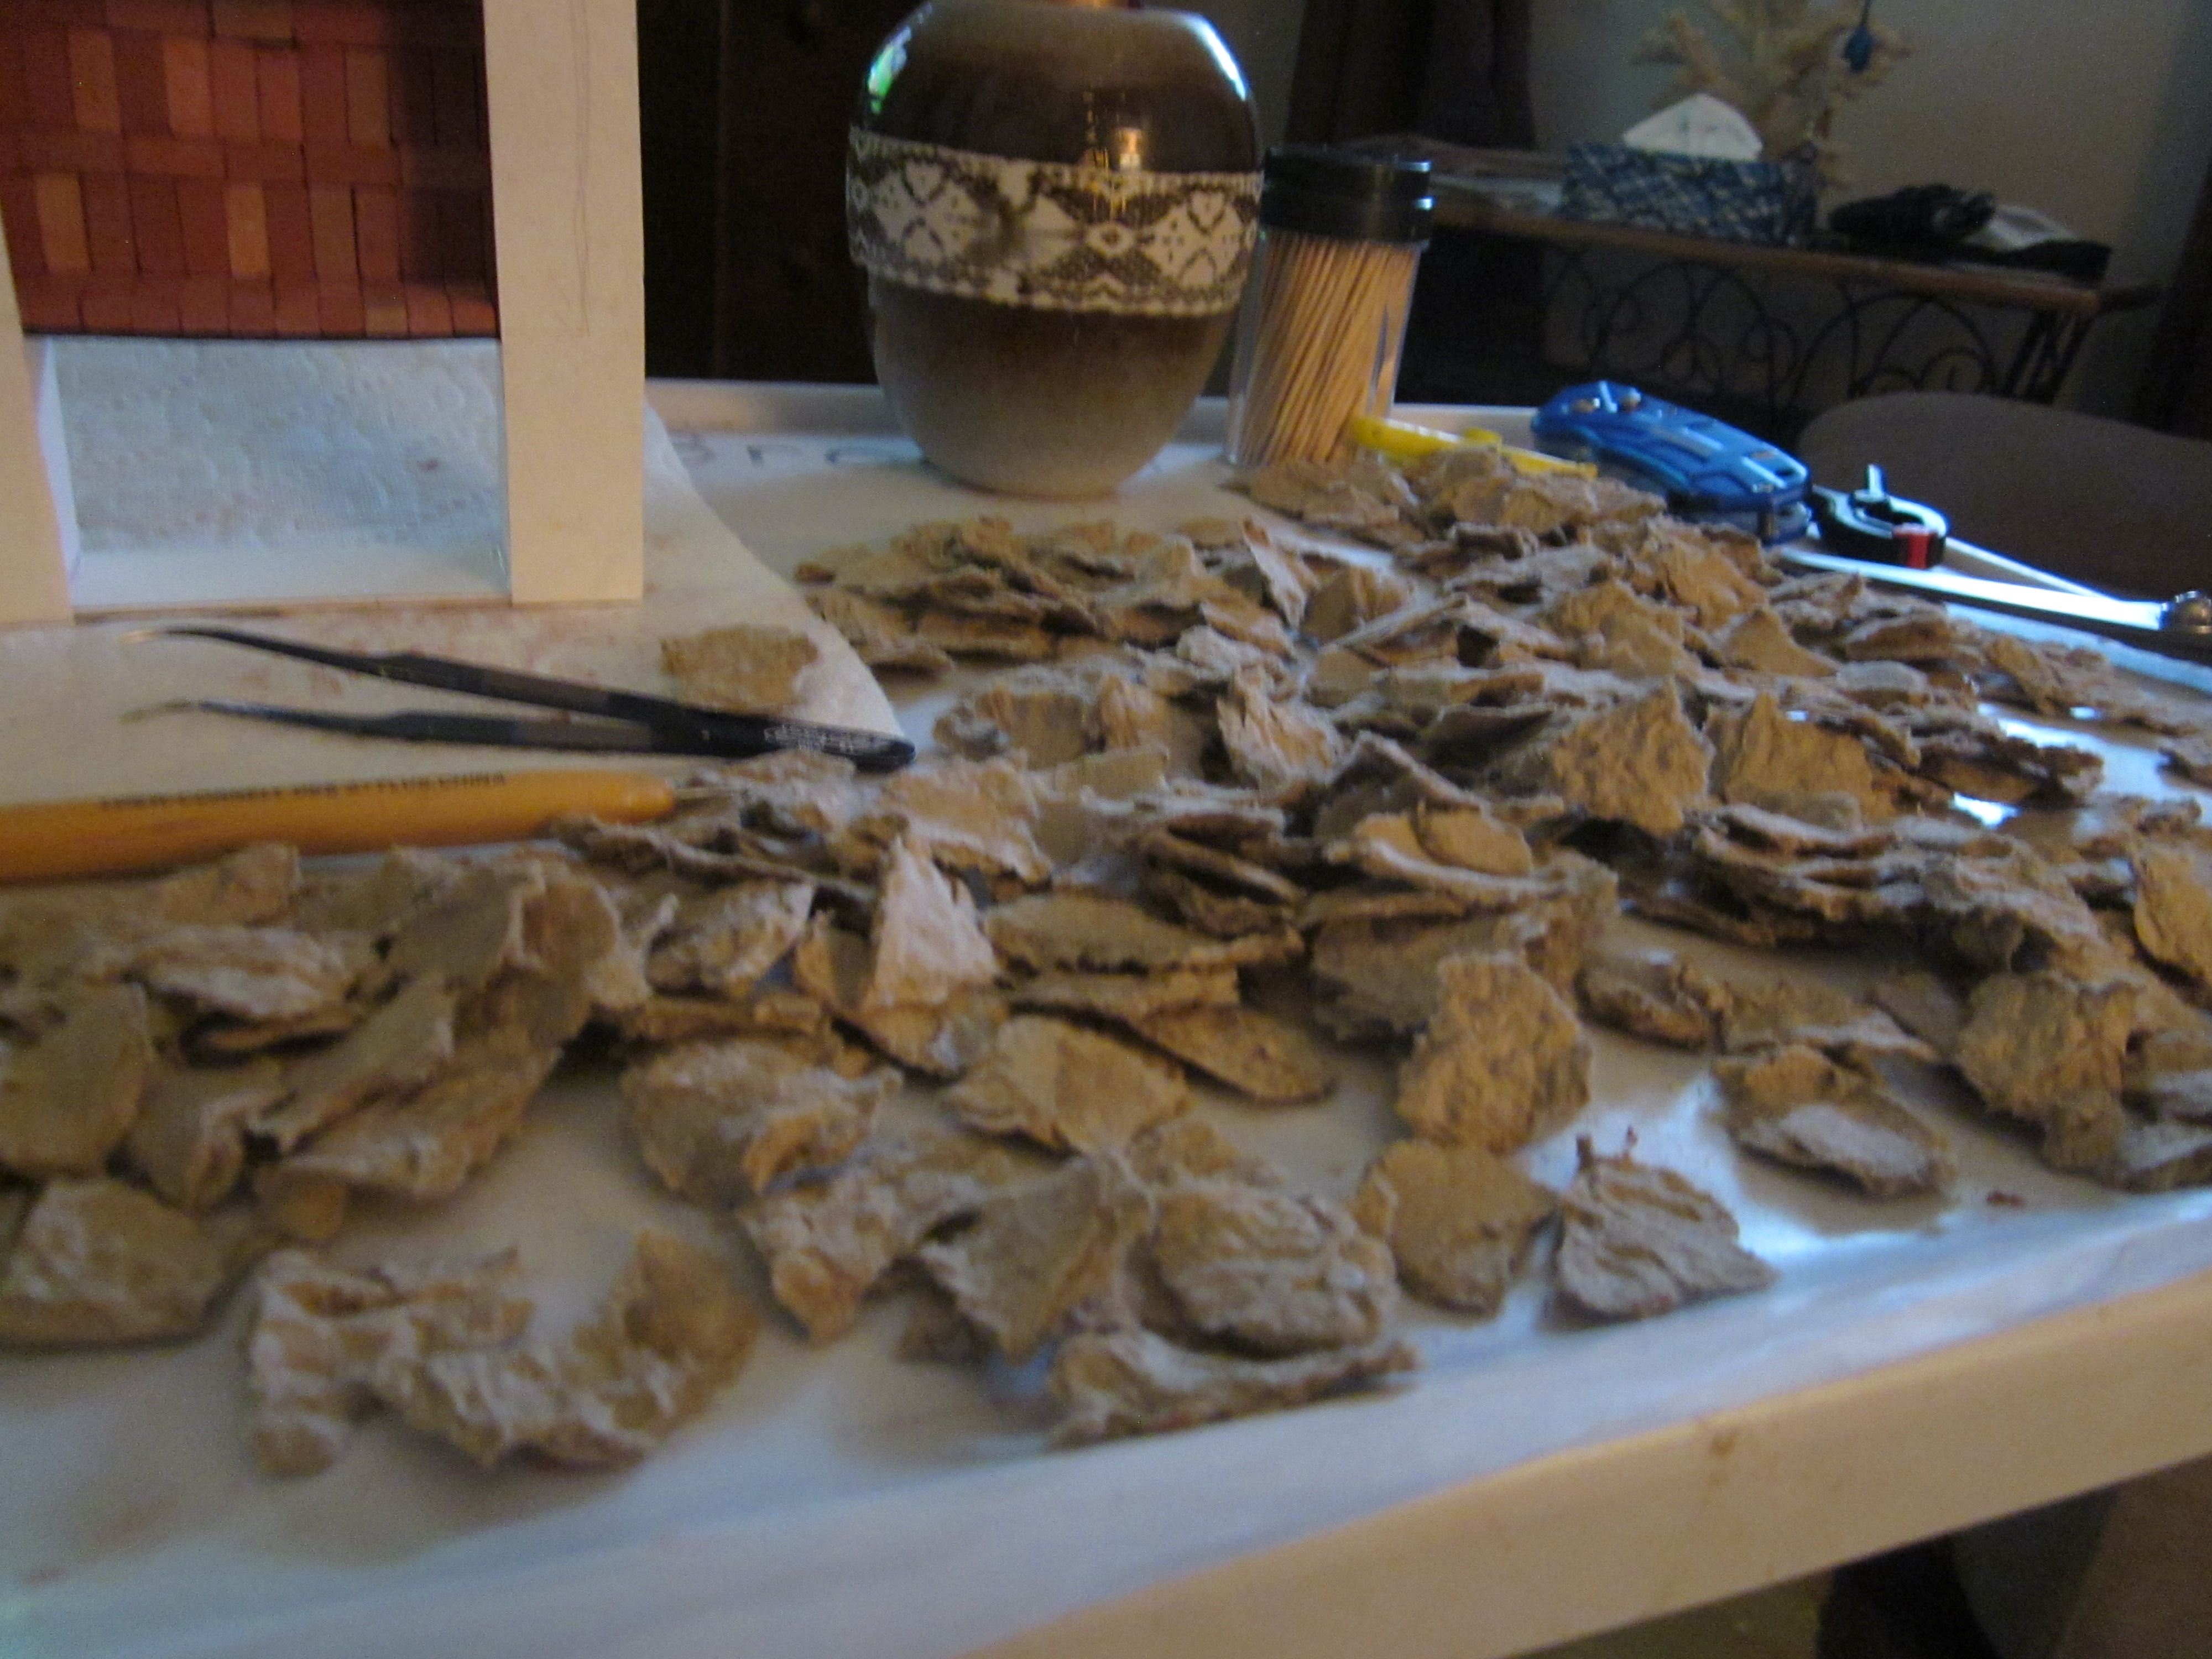
I then took some rough-looking fibre packing material I had kept from an old purchase of some electronic equipment (real life) and ripped it into many small pieces to be used to “rock” the chimney and fireplace as well as the raised wall and steps leading into my little sanctuary. I started by installing bricks around the top edge of the chimney then gluing the “rocks” in place. These will later be painted, sealed, grouted, and sealed again. (Yes, I was watching the Blue Jays ball game as I did this!)

As I moved down the chimney and was
getting closer to the actual firebox, it occurred to me that I should have
thought about a nice, tiled fireplace surround, to break up the stone
look. What could I use for tile?? Well, I did what I usually do when faced with
such a question – I slept on it. Sure
enough, after only a short time lying in bed awake, it came to me! My DD (dear daughter) Shauna has a new
favourite hobby called “diamond painting”.
If you are not familiar with it, diamond painting is a fairly new craft
hobby that's a mix between paint by numbers and cross stitch. With diamond painting,
you apply thousands of tiny resin "diamonds" to a coded adhesive
canvas to create shimmering diamond art images. My DD has lots and lots of these tiny little resin
pieces in all sorts of colours. They are
basically available in the same colours as you could find in DMC floss so, the
next morning, I called her and asked if I could “steal” some from her. She brought her supply over and we picked out
colours that would match well with the fabric I chose for the cushions for the
chair and footstool. I used colour
number 3756 for the white, 3841 for the light blue and 930 for the dark
blue. The following pictures show the
progression as I installed all these tiny “tiles”. I think the size was perfect and I really
like how it turned out.


With that
done, I turned my attention back to installing the rocks. It is certainly a tedious job but, I think
it will be well worth it in the end. (Fingers crossed!) I can only go so far with the rocks on the chimney because I am waiting for the working fireplace lights I ordered recently. When I have done as much as I can here, I will then start installing the rocks around the raised base of my birdcage room.
So that's as much as I have to show you this week. I will post again in two weeks time and will hopefully have made a lot more progress to report. I hope you enjoy the pictures of what I have done so far. Until the next time, enjoy the good weather we have left and keep on mini-ing! TTFN!!
- Marilyn