So - if you remember from my August post, I had purchased a new laptop mouse for my computer and, when I tipped the packaging upside down to get the mouse out, I realized what I held in my hand would make a perfect little pond for my landscaping at the writer's retreat. So, I painted it black/very dark green on the outside before going to Camp. One of the side workshops was about building a pond so I really lucked in on that!!!
Our teacher for this workshop, Adrian C. from Ontario, gave us all a really good introduction to making ponds, materials to use, those to avoid, how to make a formal pond and an informal pond. Then we got started. Adrian provided lots of small shapes that could be used for little ponds in 1:24 scale. Many of them came from the shapes found in chocolate boxes but she also had several other shapes to choose from. She suggested we each try two different ponds but since mine was so much deeper than these other forms, I didn't want to be greedy so used my own mold and then had a tiny shell bird bath filled as well because it took only a couple of drops of resin for that. I will show you the bird bath as I progress to the landscaping portion of my build.
For now, here is my pond, all completely filled and hardened. Firstly, I am showing the underside of my pond. Looks just like a computer mouse, doesn't it?

Following Adrian's instructions, I started by "painting" the bottom of the inside with a thin application of white glue then sprinkled it with an appropriate scale of grit for the bottom of the pond. Adrian was very specific when she told us to make sure we shook out any extra grit, and even to blow on it so no loose bits were left, otherwise they would float in the resin and ruin the look of our ponds. Then we each picked out plants from her extensive supply of scale-appropriate dried materials and glued them to the sides of our ponds. Those with shallow pond forms also glued tiny fish to the bottom of the form in preparation for the first pour.
Because my pond was much deeper, I chose to wait until the second pour before placing fish in the hopes of showing depth in the pond. Adrian instructed us to pour no more than 1/4" maximum of the material at one time, then to wait until it was thoroughly cured, at least overnight, before making the next pour.
The next morning, with the first pour solid but still a little tacky, I placed two white and orange-spotted Koi in strategic positions and Adrian did a second pour. Late that day I placed a third fish - solid orange this time, and she did the third pour. The result is that the fish are floating at different levels of the pond and I am loving how it turned out. It was a really fun workshop. I'm not sure if you can really tell the different levels that were achieved but here are two pictures of my finished pond:

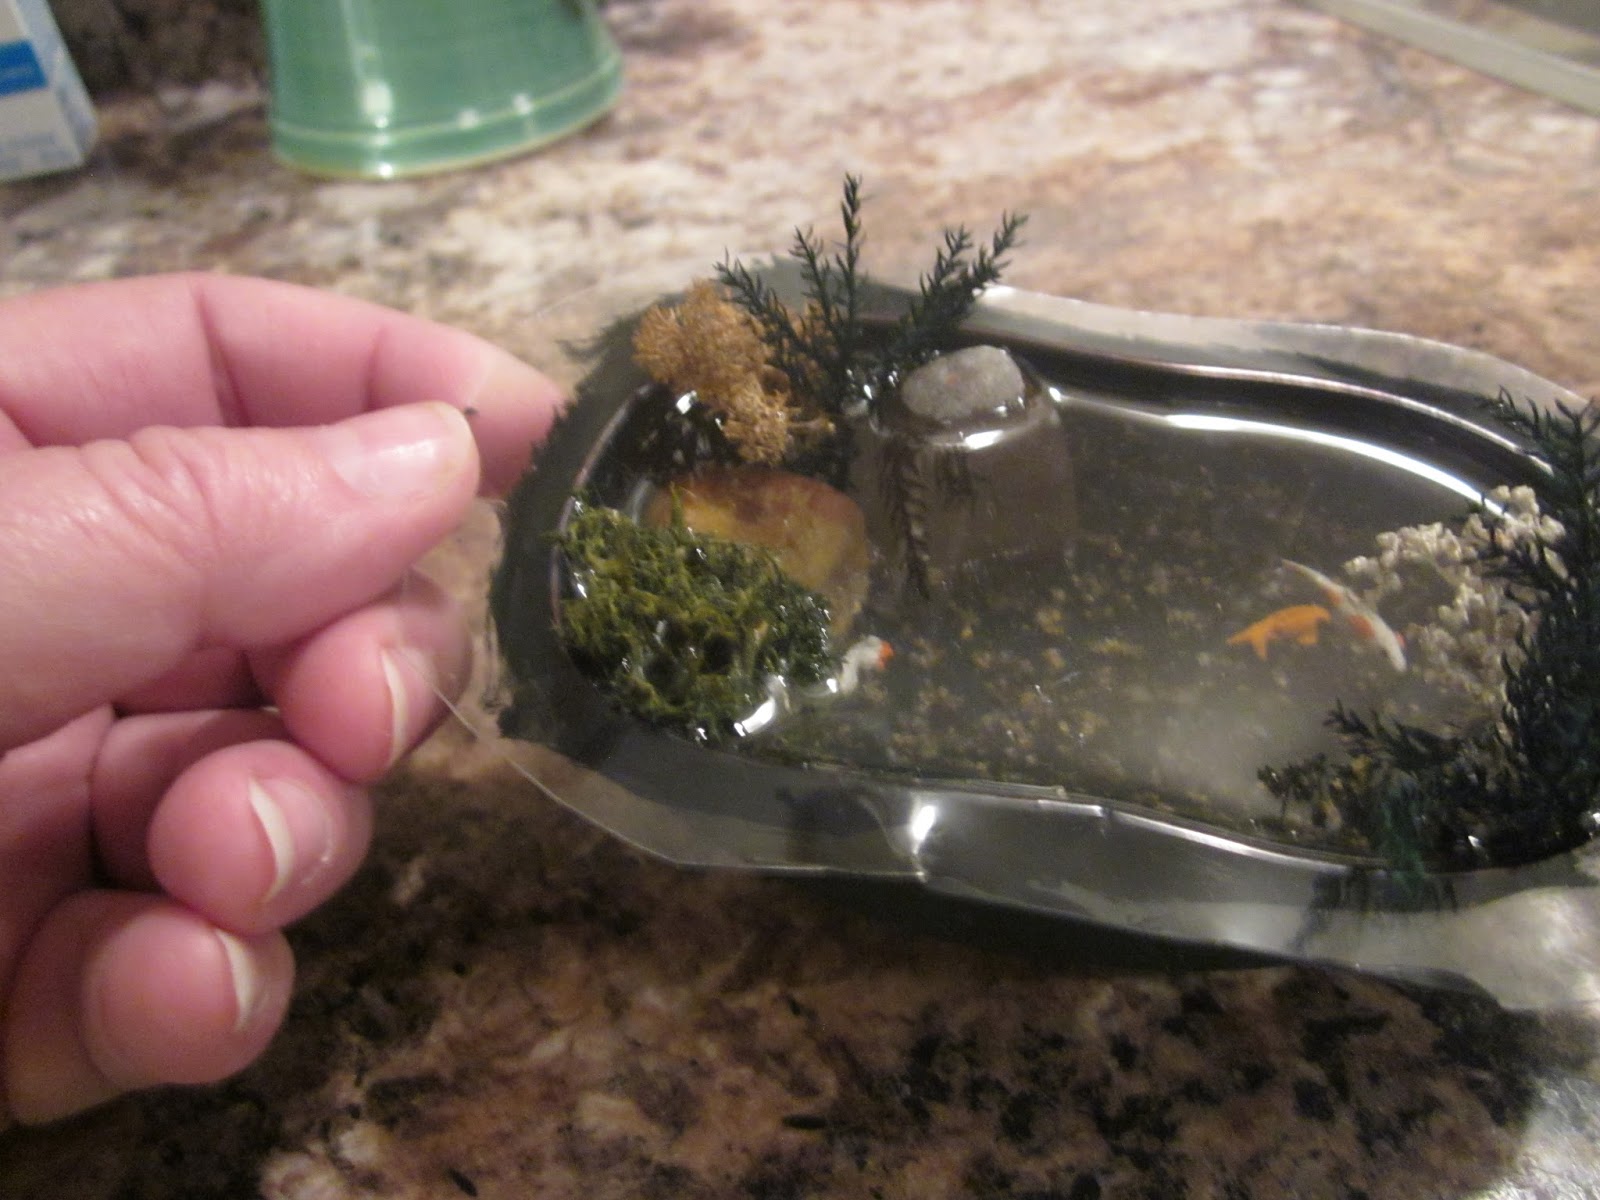
I am definitely going to try this again in the future. As for the product used, Adrian told us that, rather than using a more expensive product that is made for miniature water scenes, she uses a product that is intended for cabinet makers. It is a resin and hardener that is self-levelling and one coat on furniture is meant to be the equivalent of about 50 layers of polyurethane finish. It comes in three different size boxes and, though somewhat pricey in itself, is much cheaper than the other products and she is often able to purchase it at Michael's using a 50% coupon. You can't beat that. Here is the product we used (follow instructions carefully and do not mix the resin and hardener until you are ready to use it.)
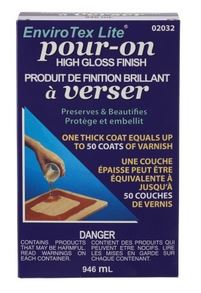
Also be careful when pouring because if you drip it anyplace where you don't want it, it will be difficult to get it completely off. Adrian mentioned that one thing that must be kept in mind is that this product probably can't be used if you're trying to fill, say a bathtub or sink - or any application where the water is intended to be clean and clear because it may have a slightly yellow colour to it. This is not noticeable in a pond application but would be noticeable in a white bathtub.
For my pond, I will add additional plantings around it when I work on my landscaping.
So, although this is a short post, I think it's time to go to bed as I am still trying to catch up on my sleep from my week at Camp. Tomorrow I hope to show you some of the work I have done on the building since I've gotten home. TTFN!! - Marilyn
What an inspired idea to use the mouse packaging! The pond is wonderful! I can see the depth differences and it really does make it look so realistic!
ReplyDeleteI have had that Pour On stuff in my Amazon wish list for a long time now. I was kinda chicken to use it until I had something useful to test it on. I feel more encouraged now - thank you!
Looking forward to the next post! Welcome back to blogland! :O)
Hi Jodi! Glad you liked my pond - I'm really pleased with it myself. I think it will work perfectly once I have more plantings and rocks around it in the landscaping. If you can use a 50% coupon at Michael's, the product is very reasonable compared to the other materials specifically made for miniature use. Have a great day. - Marilyn
DeleteHello Marilyn,
ReplyDeleteThat is just beautiful! It looks so realistic...great catch using the mouse container. It is perfect. I love the fish on different levels and the plants are great. Thank you also for introducing me to the product...I smell more projects coming up ;)
Big hug
Giac
More projects coming up Giac?? Oh, dear - please pass on my apologies to Jo! *smile* Just teasing - you're projects are always phenomenal. I wish I had 1/4 of your talent! All the best to you and Jo. - Marilyn
Delete