In my last post I left off with pictures of the beginning of the floor for my bird cage project. I continued laying the floor in the pattern I had decided on, then left it for a couple of days to make sure it was well dried. Once I was sure it was ready, I sprayed a few coats of sealer on the bricks to make sure they wouldn’t ‘dissolve’ during the grouting process. Then I used ordinary drywall spackle to grout, waited for just a few minutes then used barely damp paper towel to wipe off the excess spackle before it set on the bricks. I put a piece of waxed paper on top and weighted the floor down with a set of heavy books overnight to make sure it didn’t warp while it dried. The next morning, I used a brush and liquid polyurethane to put a final coat on and let that dry for the day, then weighted it down overnight again.
I’m happy with how it turned out.


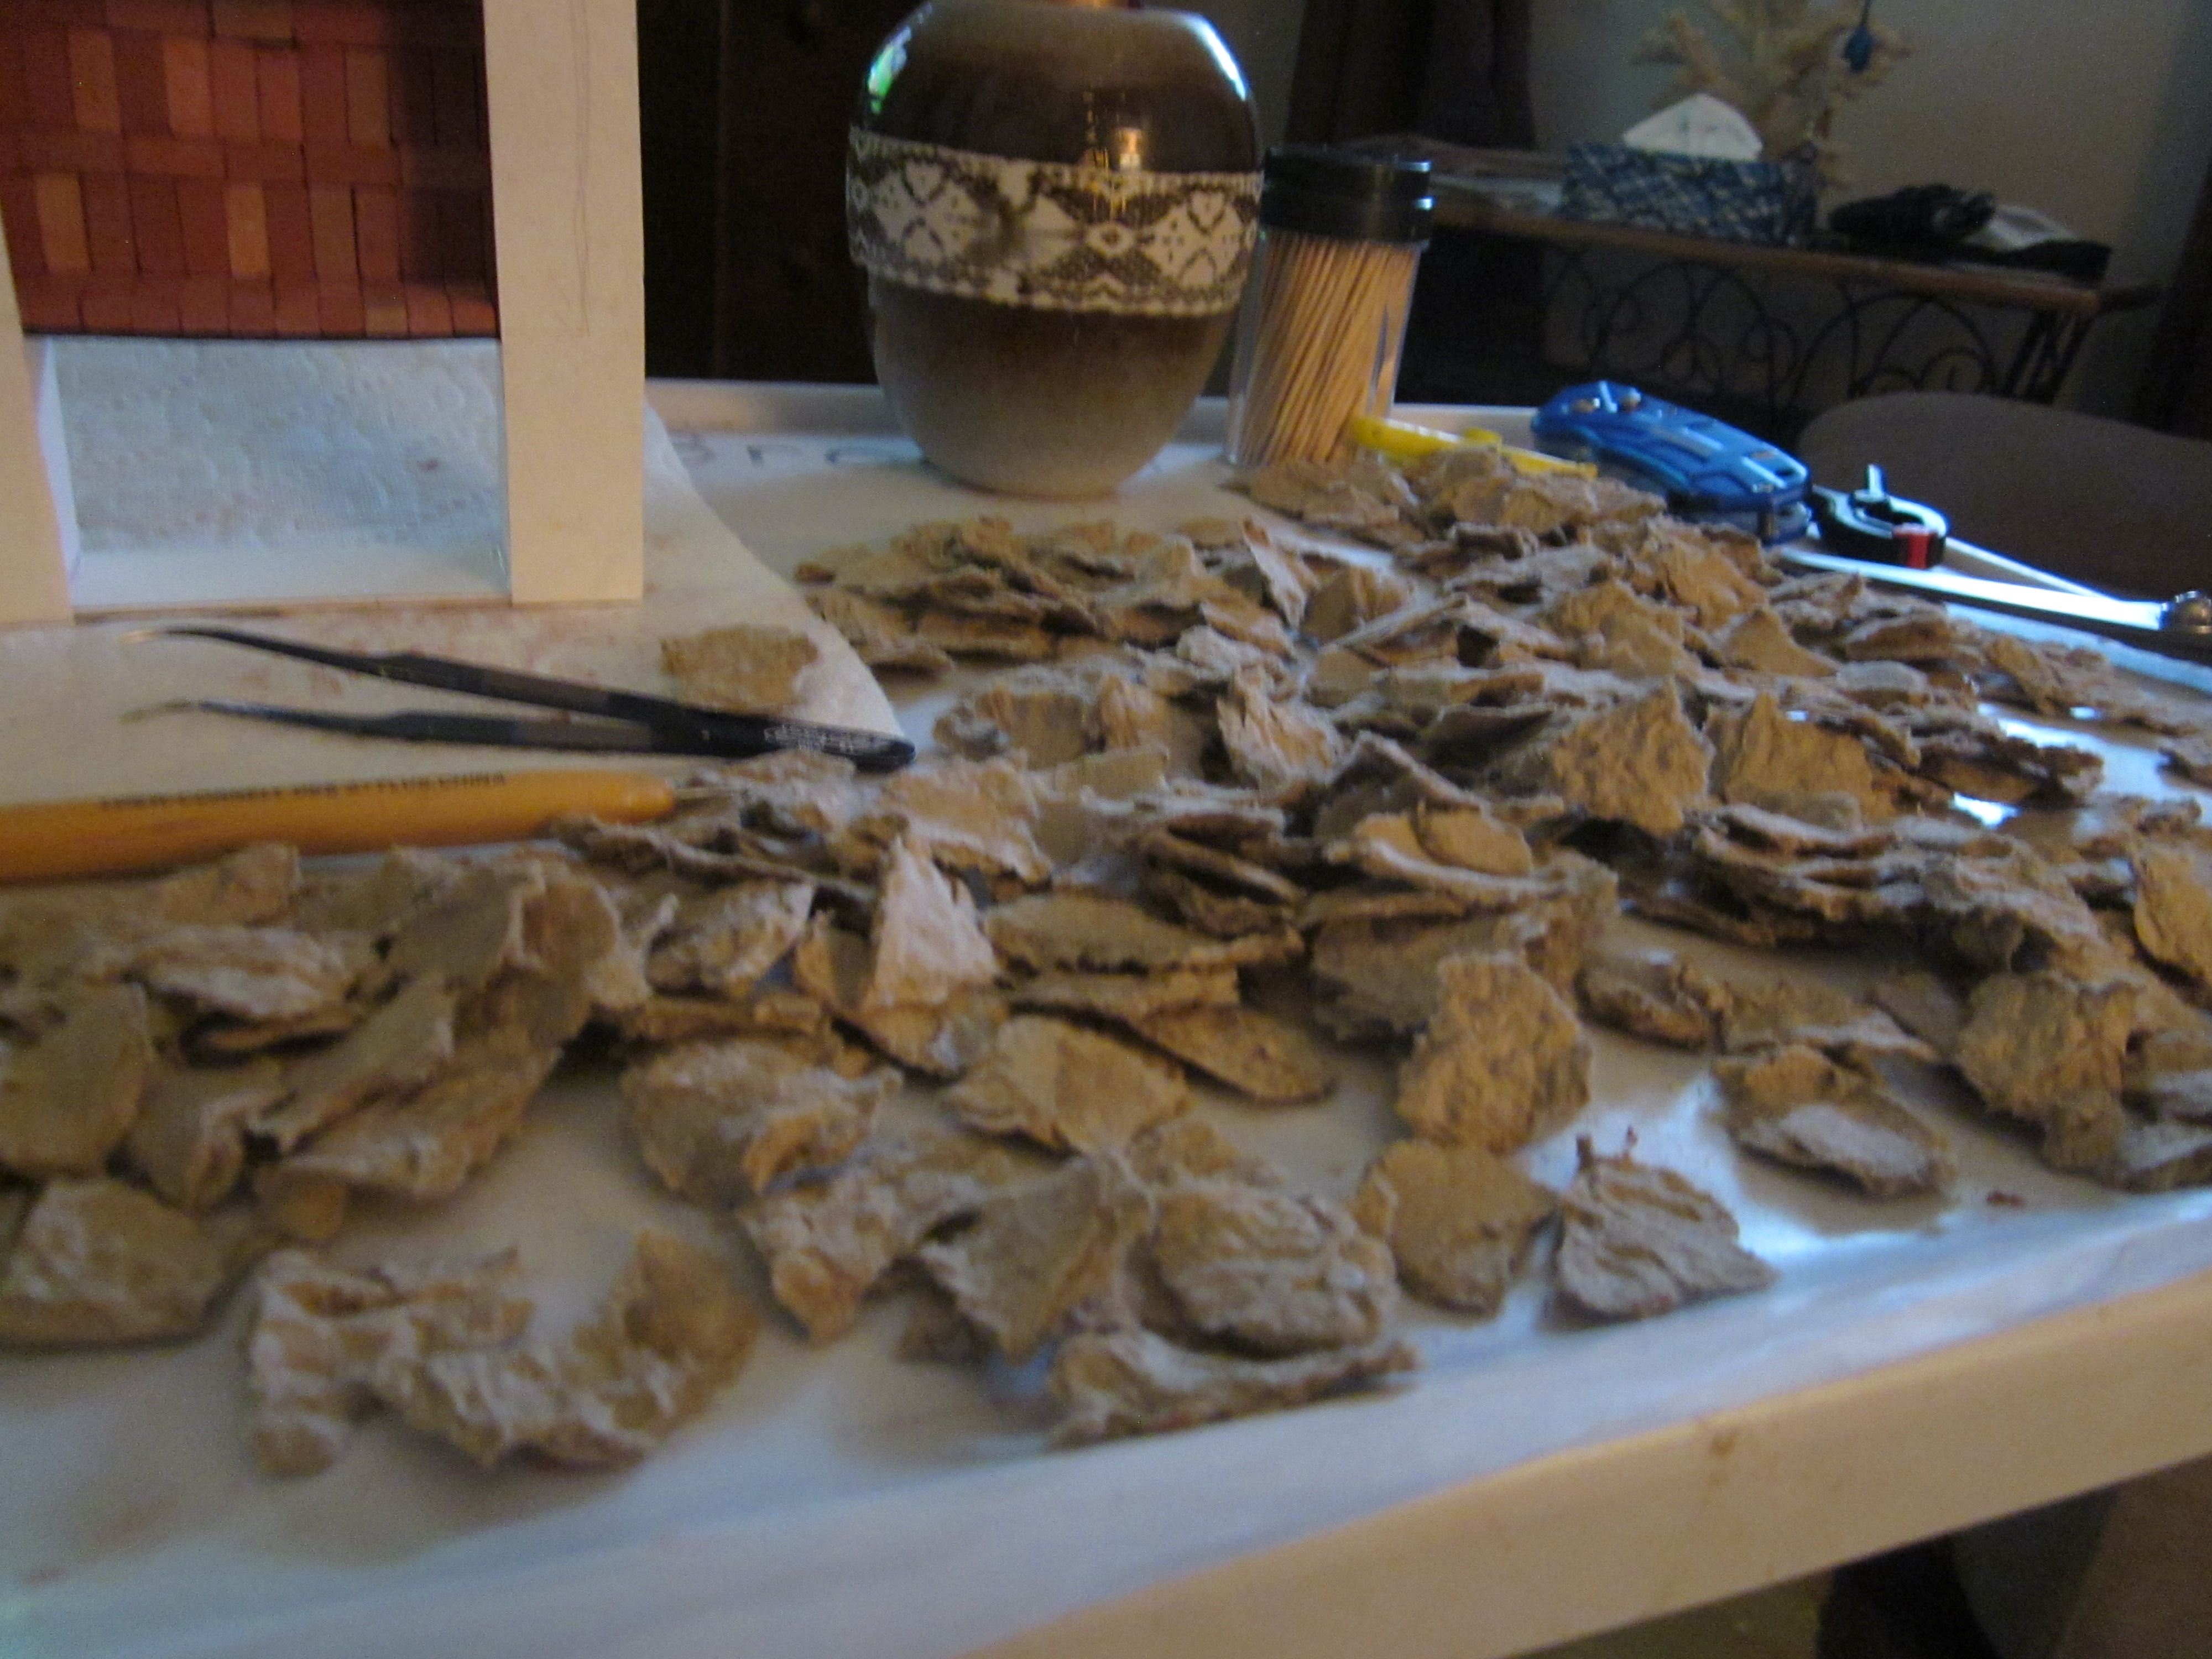
I then took some rough-looking fibre packing material I had kept from an old purchase of some electronic equipment (real life) and ripped it into many small pieces to be used to “rock” the chimney and fireplace as well as the raised wall and steps leading into my little sanctuary. I started by installing bricks around the top edge of the chimney then gluing the “rocks” in place. These will later be painted, sealed, grouted, and sealed again. (Yes, I was watching the Blue Jays ball game as I did this!)

As I moved down the chimney and was
getting closer to the actual firebox, it occurred to me that I should have
thought about a nice, tiled fireplace surround, to break up the stone
look. What could I use for tile?? Well, I did what I usually do when faced with
such a question – I slept on it. Sure
enough, after only a short time lying in bed awake, it came to me! My DD (dear daughter) Shauna has a new
favourite hobby called “diamond painting”.
If you are not familiar with it, diamond painting is a fairly new craft
hobby that's a mix between paint by numbers and cross stitch. With diamond painting,
you apply thousands of tiny resin "diamonds" to a coded adhesive
canvas to create shimmering diamond art images. My DD has lots and lots of these tiny little resin
pieces in all sorts of colours. They are
basically available in the same colours as you could find in DMC floss so, the
next morning, I called her and asked if I could “steal” some from her. She brought her supply over and we picked out
colours that would match well with the fabric I chose for the cushions for the
chair and footstool. I used colour
number 3756 for the white, 3841 for the light blue and 930 for the dark
blue. The following pictures show the
progression as I installed all these tiny “tiles”. I think the size was perfect and I really
like how it turned out.


With that
done, I turned my attention back to installing the rocks. It is certainly a tedious job but, I think
it will be well worth it in the end. (Fingers crossed!) I can only go so far with the rocks on the chimney because I am waiting for the working fireplace lights I ordered recently. When I have done as much as I can here, I will then start installing the rocks around the raised base of my birdcage room.
So that's as much as I have to show you this week. I will post again in two weeks time and will hopefully have made a lot more progress to report. I hope you enjoy the pictures of what I have done so far. Until the next time, enjoy the good weather we have left and keep on mini-ing! TTFN!!
- Marilyn
What a Terrific idea to build a Fireplace and chimney for this birdhouse AND to tile it using the diamond painting tiles which I must say, are absolutely PERFECT for this project! Hats off to you, Marilyn and your "sleeping on it" solutions! ;D
ReplyDeleteThank you, Elizabeth. I swear, if I didn't lie awake in bed at night I'd never have any ideas! Oh - perhaps the ones I have in the shower would take over. *smile*. Big hugs - Marilyn
DeleteEsa pintura con diamantes es todo un hallazgo. Queda precioso.
ReplyDeleteEstoy deseando ver como finalizas la escena pues de momento es sensacional.
Un saludo
Oh Marian, eres tan amable. ¡Gracias por sus encantadores comentarios y por tomarse el tiempo para visitarnos! ¡Salud!
DeleteOh Marian, you are so kind. Thank you for your lovely comments and for taking the time to visit! Cheers! - Marilyn
What a great idea Marilyn, the fireplace is pretty and the brick floor looks great. This is certainly shaping up to be a lovely place for the mini people to sit!
ReplyDeleteUnfortunately, Shannon, this will be a little hideaway for one. She's not sharing it with anyone. She plans to sneak away whenever she can and spend her time with her feet up, with a good book, a glass of wine, and the sound of a crackling fire in the background even while the cool breezes are blowing through the open space of her little sanctuary! *smile*. Doesn't that sound fabulous! I'd love to share it with her but she's having none of it! Colour me disappointed. - Marilyn
DeleteWow Marilyn! I love how this is all coming together! The brick floor came out wonderfully, and of the four choices for the arched opening, the fireplace is my favorite, too! And wowzer! What a fireplace! It's beautiful! I love the way the mosaic "diamond" tiles turned out - such an inspired idea! And I love the rocks! I bet your daughter was so happy that she could gift you some of her craft supplies! The fabric is very pretty, and with the red of the bricks with the blue of the fabric and tiles, it really gives the feel of a wonderfully relaxing patio space! I find baseball games a very relaxing background ambiance for crafting, too, though our Mariners are behind the Blue Jays by one game!!!
ReplyDeleteYes Jodi, I was certainly grateful for Shauna's little resin pieces from her diamond painting hobby because they are such a perfect size for this fireplace. I'm starting to think of all sorts of other uses for them now! As for the Jays and Mariners - I went turned the game over early last evening because the Jays were getting trounced and I didn't want to have to witness it live. I'll check it out on Sportsnet Central this morning to see just how bad it got. *sigh* My blood pressure just won't take much more of the Jays' up and down momentum!
DeleteWhat a lovely project!I had to go back to your previous post to see it from the beginning. The floor looks perfect for a patio scene and I very much admire your weaving skills. The wicker chair and table are beautiful. Most of all I love the mosaic work on the fireplace. At first I thought you used tiny glass beads but looking closer and reading your explanation I learned about the amazing way the tiny "diamonds" are done. A big applause for your patience.
ReplyDeleteI look forward to seeing more.
Hugs,
Drora
Can't you just see the number of things we can do with these little "tiles", Drora? They come in both square and round versions. I can see surrounding a mirror frame with them. How about a "penny tile" backsplash with the round ones? A mosaic table? Ooh - a mid-century bathroom floor or shower surround with the white and black colour scheme? An inlaid jewellery box? I really have to keep focussed on what I am doing NOW and not dreaming about all the other possibilities!!!! Help! Somebody needs to stop me!
DeleteTe ha quedado muy bien el suelo. Y me encanta la dulzura de la tela de los cojines y lo bien que hace con el diseño de la chimenea.
ReplyDeleteMe apunto eso de la pintura diamante y las baldositas
Estoy muy feliz de haber pensado en esos pequeños "azulejos", Isobel. Especialmente porque vienen en tantos colores diferentes, hay tanto que los miniaturistas podemos hacer con ellos. ¡Mi cabeza da vueltas con ideas! Que tengas un gran fin de semana.. - Marilyn
DeleteI'm very happy I thought of those little "tiles", Isobel. Especially since they come in so many different colours - there is so much we miniaturists could do with them. My head is spinning with ideas! Have a great weekend. - Marilyn
The hideaway is looking wonderful. I love the combination of rustic and refined. Thanks for sharing the little “tiles” those are sure to have lots of applications in the mini world.
ReplyDeleteWe'll have to pool all our ideas, Sherrill, about the multitude of uses these little "tiles" might have for miniatures. In the diamond painting world, for some reason, they are called "drills" and they come in either square or round. Obviously the square ones fill in completely whereas there would be little spaces with the round ones - good if you are looking to have a grouted look. Maybe we should make it a challenge?? What can you make using these?? That would be interesting wouldn't it? Cheers!! - Marilyn
DeleteIt's a good ability being able to surprise yourself - keep up with that! ;O) And I really like what came along when you made this surprise become reality - the fireplace is stunning and it was a clever idea to use those drills as tiles. They always add so many replacements in the kits and they come along in all sorts of colors referring to the stitching threads. Btw I use them as candies or cookies for filling jars.
ReplyDeleteIt's great to see this lovely project develop and I can't leave without a deep bow for the stunning floor you've created.
Greetings
Birgit
Candies or cookies? What a great idea! I think these little 'drills' have a lot of potential for use in miniatures - yet another craft that easily transfers into our mini work. It's no wonder so many of us love our minis - they incorporate all of our previous crafts into one. You can't get much better. I'm glad you like my floor, Birgit. I do think I have to mess it up before I finish with it though My fireplace needs a sooty finish too. We can't have things too pristine, can we? Cheers. - Marilyn
Delete