Wednesday 30 January 2019

2018 progress on Advent room box

On my last post I showed you the Advent room box that I started in 2017. Okay - I'm very aware it was supposed to have been completed from December 1st to December 24th, 2017 But I guess I'm one of those people who move to the beat of a different drum - and my drum beats a very slooooow beat.

So, I did bring the room box back out of storage on December 1st 2018 and started working on it again. The first thing I did was to make a lap blanket to drape across the footstool and some coordinating throw cushions. I tried to use colours and patterns that would go well with the burgundy striped curtains but I particularly liked the way the red velvet ones worked up. Lovely fabric to work with.


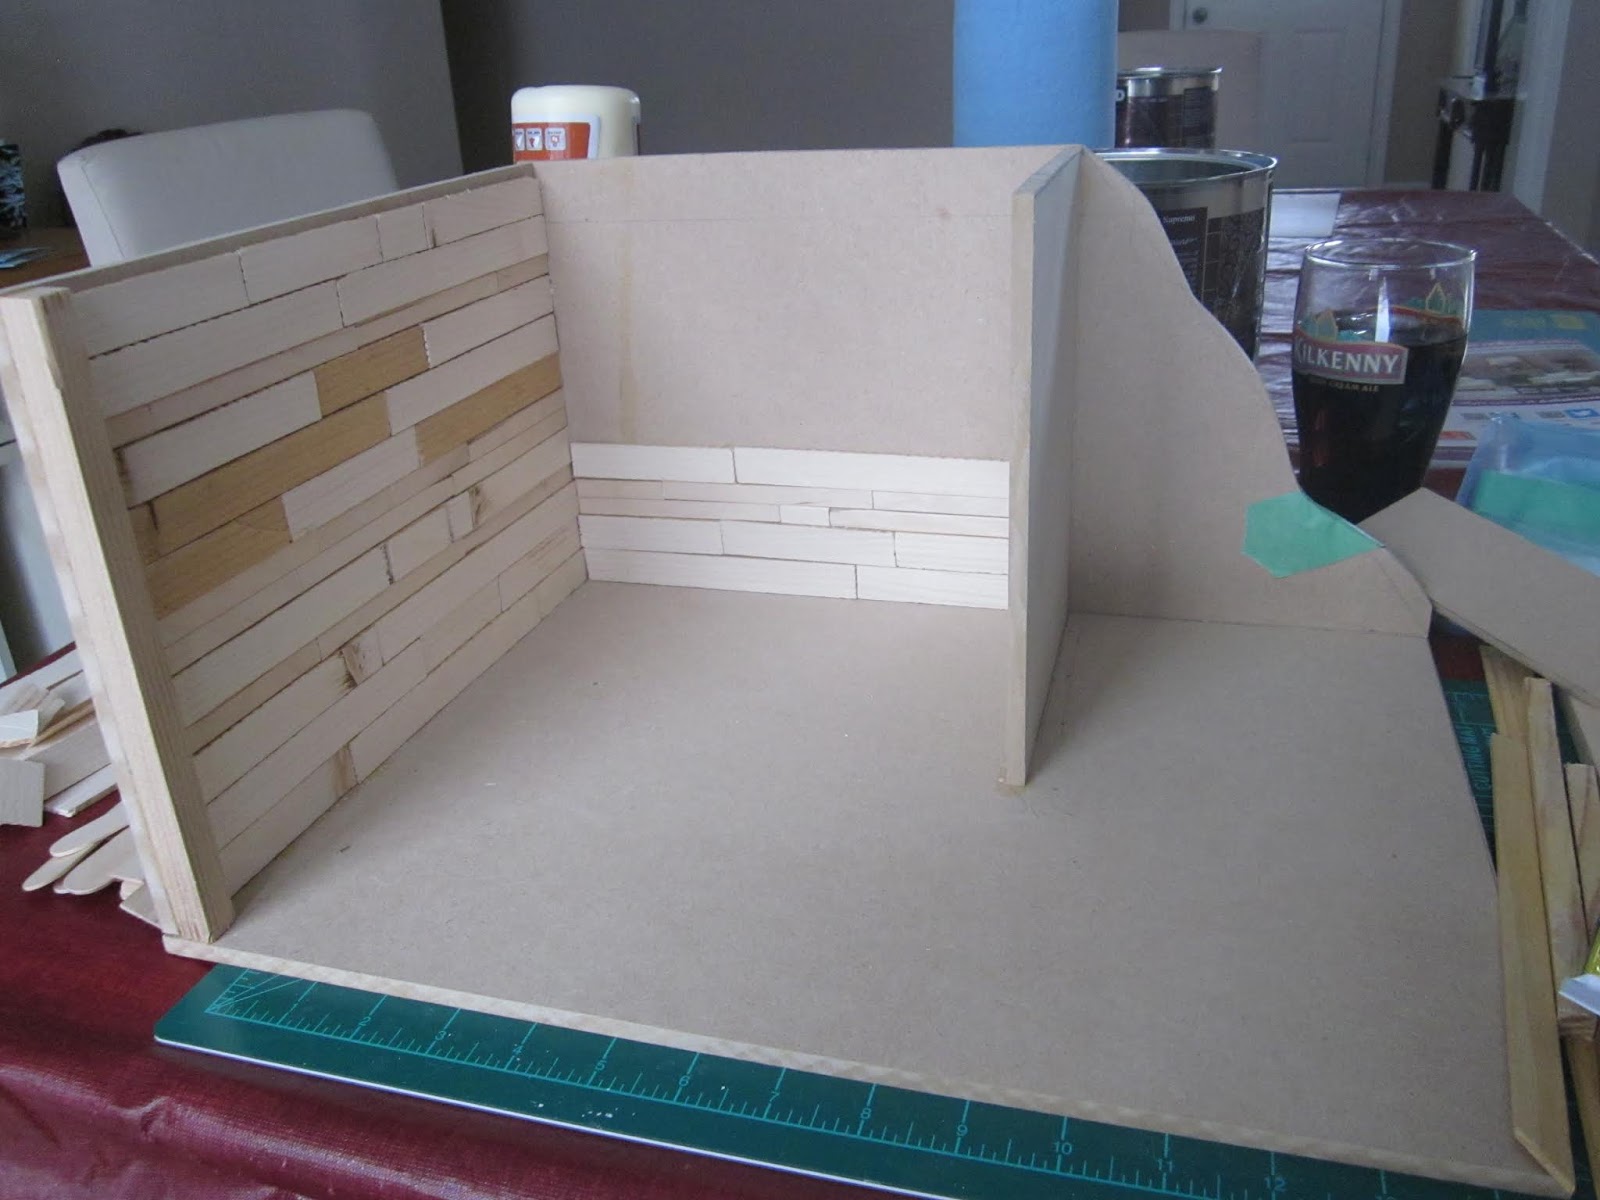
Then I started thinking about what other decorations would add the right personality to the room. I needed to fill the large white wall space to the left of the fireplace. In the Dutch magazine, they built three tiny "shelf sitter" Santas and glued them inside small square clear plastic boxes, hung on their sides. I didn't really like them so did my own version. I made one shelf with three tiny Santas that I made from craft sticks (the popsicle stick size). I simply cut lengths of about 1" (2.54 cm., then I marked the centrpoint at the top and cut from the bottom corners to the centre point, leaving me with 3 little triangles. I then added tiny air-dry clay beads at the point, to act as a pom-pom, painted the little triangle red and white to look like a tiny old world Santa, and used a very fine pen to add a couple of dots for eyes. The I glued these three onto the little shelf I had made. This was definitely not enough to fill up that large wall so I proceeded to cut 6 more little triangles which I turned into three little white angels and three little Christmas trees which I also glued to tiny shelves.


Although the white angels blend into the wall, I still like the way the arrangement turned out.


Then I needed something for over the fireplace so I took a piece of artificial greenery that had fallen off my full-size garland, trimmed the needles down so they were very short, and formed a wreath. I added a few little beads for decoration and glued a little sheep into the centre. This will probably be the first thing I re-do next year. I think the decorations need to be larger to show up better and I will replace the white lamb with something that will show up better against the white fireplace.


I trimmed down another piece of my real-life artificial garland and trimmed across the mantle. Again - I need to add some larger decorations next year, plus some candlesticks.

I then wired in a little coal fire which glows red when turned on - adding a little "warmth" - at least visually.

Then I made an accent table for the corner. I used fabrics that were also used for the cushions so that it provided some consistency. These little round tables are so easy to make but, just on the off-chance that there is someone reading this who is truly a beginner, my next post will include a tutorial on the table, including how to make the star-shaped table topper.

I decorated a little Christmas tree, added some presents on the table and on the floor by the fireplace. Then came the "piece de resistance"!
On December 27th, I was in the Hallmark store to see if I could purchase a collector Santa to add to my display for next year (I buy one every year), when I noticed that their collector ornaments, including their "mini" ornaments were on sale for 40% off. I found an adorable little dollhouse which, when you press down on the chimney, the roof lights up with a multi-coloured light show. Adorable! And they also had a little red guitar which plays a Christmas tune (one of 2 or 3 different tunes - it changes each time), when you press the button on the side. I couldn't resist them!! I also added a cross-stitched cushion made by my friend Marijke from Pulchinella's Cellar. So - this is how the Advent room box looked by the end of this Christmas season:


Only one more Christmas season to go and I'll be finished! *smile* Next December I will be adding an advent calendar to the wall to the left of the window, tiny "Putz" houses across the top of the window valance, a Christmas candelabra on the window sill, candlesticks on the mantle, and a few other elements that I will keep secret for now. I love to leave you in suspense!

A little note on my pictures: I have been complaining for a long time now that my camera does not take very good pictures any more. They come out way more fuzzy than I would like. However, recently, when I turned my camera on and the lens spiraled out, I turned it around and took a look at the actual lens. OMG - it was filthy! You may notice that the last two pictures above are much clearer than most I've taken over the last couple of years. When my camera is shut off, the lens retracts and a shield closes over it automatically so I never really looked at it before. I will make sure I keep it clean from now on!

I leave you tonight with another view of our little helper. My DH bought a small work table for me yesterday. It will be easy to carry outside to our deck when the weather gets nicer so I can use it for a small table saw and the scroll saw to avoid all the dust and wood chips inside the house. There were only a couple of parts he had to screw together so, of course Miss Bridie offered her assistance once again.


I do so love it when she's helping her Daddy! It means she's leaving me alone. TTFN! - Marilyn


Monday 28 January 2019

Extra help - not always appreciated...

Yes, I am working away at the Remembrance Day project but will wait to update the progress on that until I have a couple more stages done. So let's catch up on what else is going on.

First of all, this year my DH gave me the best Christmas present ever...which is also the worst!!!

Take a good look at this little face. Study it carefully. Memorize every little speckle and spot. This is her calm and innocent look. It was the first and last time we saw it and don't expect to be seeing it again any time soon.


This is Bridie. Doesn't she look all shy and quiet??? Yes, I do love her to death but it has been about 30 years since we actually had a kitten in the house since we have tended to adopt older cats and each have lived good long lives. We forgot what having a kitten could be like. It took her all of 3 minutes to settle in once we brought her home and the house has not been the same since. Although she was my Christmas present we picked her up early in December so she was so very involved in decorating the house for Christmas, wrapping presents, and taking down the decorations in early January.


In between she has volunteered her services for stripping and remaking beds, working on the computer, sorting laundry, sweeping, dusting and vacuuming (she has no fear of noises at all), drying my hair, showering, herding us out of the TV room and into bed when it's time, waking us up in the morning so we don't miss anything important (like filling her food bowls) ....there is simply no end to her generosity when it comes time to help out around the house.

The icing on the cake is how excited she gets when it's time to help Mommy work on her miniatures. As a result, I cannot tell you how many small pieces, and sometimes even large ones, go missing from my work table, only to be found in the strangest of places anywhere in the house several days later. Reaching into my tool bag has become somewhat of a hazard. Somehow, when I'm not looking, the tools and supplies inside seem to have sprouted fur and tiny, sharp little nails as my hand always comes back out with dots of blood. It has been a truly interesting experience and reinforces our earlier practice of adopting older cats. If only she wasn't so darn cute....

Anyway, I shall persevere and continue to work on my minis - just keep extra bandaids close to hand.

So, before I put this project away until next December, I thought I would finally introduce you to it. Last December (2017 that is), my friend Marijke invited Louise and I to join her in each building our own Christmas advent project. The project was from an old Dutch miniature magazine and involved building a small room box during the month of December. The theory was that the 1st and 2nd of December we would build the box. On the 3rd we would add the window and make curtains. Next we would make a chair, an ottoman, an area rug, etc., etc., adding an element each day until it was complete by December 24th. Okay - that didn't work out so well but I am having fun with it.

Here is the picture of the one in the Dutch magazine:


So Feeling very ambitious, we started our projects on December 1st, 2017. Instead of 2 days, it actually took me 4 days to cut out the pieces, put them together, build out the fireplace, and the window and cover everything in stucco (premixed crack filler). The outside walls are completely covered in stucco but I marked a line where the wainscoting was going and put the stucco just down to that point on the inside.

Before putting it together I cut out the window area and placed a nice winter picture on the outside, giving it a nice depth for the windowsill. I trimmed that out and then I bricked the fireplace by putting textured brick paper on the outside of the fireplace and painted it white, put the textured paper inside and blackened it up, and put in a real brick hearth. I had previously drilled a hole through and plugged it with a toothpick so I could fit wiring through if I wanted to.


Next I laid a wooden floor and installed the wainscoting, then I was prepared to whitewash everything. Okay - - it was at this point when I realized two things: 1. I should have painted all the window trim before installing it, and 2. I forgot to put the plastic in for the window glass before installing the window mullions. I never seem to do things the easy way. I then cut a piece of plastic but was not able to slide it under the mullions in one piece. So I slit it vertically down the middle, slid in one half, then the other. The seam is completely hidden in the area where the middle portions of the frame come together in the bottom section. In the top horizontal section, the seam falls directly in line with a branch in the picture behind it so is almost impossible to see unless you know it's there. Once that was completed I was able to using masking tape over the plastic sections so I could whitewash, then paint the window frame. Good to go - even it it did take several steps more than if I had actually paid attention to what I was doing.


Once this main part of the room box was done, in December 2017 the only other things I completed was making curtains, using a cardboard backing with wooden skewers glued down to it. I then was able to glue the fabric over these skewers so it formed perfect looking little pleats.


Then I used a piece of tea-dyed Aida cloth, pulled out some threads so I could insert some red sparkly ribbon and stitch some green accents down the sides of the ribbon. This became my little area carpet.


I also made a small white chair and ottoman but didn't get pictures of them at that stage.

So - that is all I was able to get done in 2017. On Wednesday's post I will show you the work completed on this "advent" room box in December 2018. It really is coming along! Until then - I have to go drag Bridie out of the treat cabinet! TTFN! - Marilyn


Thursday 24 January 2019

Better late than never!!

Yes - you're absolutely right - it has been well over a year since you've seen anything from me. You know how you always INTEND to do something but before you know it, it's bedtime again and you promise you'll get to it tomorrow?? I had a lot of that going on. *smile*

So, I have so many things to tell you!!! Where to start? Where to start? Hmmm....

How about if we work our way backwards - what am I working on now? What was I doing before that? And so on..

For those of you who also follow my friend Marijke's blog at http://pulchinellascellar.blogspot.com/ you'll already know that our mini group is working on a single project that we plan on donating to our local military museum when completed.

For our project we are following the instructions we found in the August, September and October 2014 issues of Dollhouse and Miniature Scene. Titled "We will remember them...", the project was designed and created by Celia Thomas and Robin Britton of Nostalgia in Miniature Workshops.


A very poignant scene, this project portrays a long-abandoned military bunker from WWI, lying hidden and forgotten, unbeknownst to the aging veteran strolling through the poppy fields above, many decades after his harrowing experiences of wartime.

Marijke, Louise, Susan and I will be following the instructions for the project but will change some of the details to better reflect our Canadian viewpoint. Since Canada went to war in 1914 as part of the British Empire, the Union Jack is appropriate in this project. At that time, Canada's flag, the Red Ensign, was basically changing every time a new province joined Confederation. The Union Jack was a constant and frequently represented all of the Empire. We will try to find other little ways to identify our Canadian theme.

So, our plan was to divide and conquer. Each of us will work on pieces of the project, then come together to put the finishing touches together. As I mentioned above, check out Marijke's blog for the accessories she's been working on. It will be these accessories that really bring the realism into the project.

As for my contribution, I've started by putting the actual box together. From the DHMS magazine, August 2014, here is a picture of the basic pieces.


While I could have cut out the pieces myself, my darling DH volunteered to do it and hey, I wouldn't want to disappoint him now, would I? I'm such a good wife! We used 1/4" MDF. Here, in the Fredericton area, the only place I can buy 1/4" MDF is at Kent building supplies. It's really inexpensive (around $24 for a 4 ft. x 8 ft. sheet) and I always buy a full sheet because I know I will use it up anyway so why not? I have them cut it in two at Kent's to make it easier to get home. This time I shared it with Louise who took one of the 4x4 pieces for her own use. That size goes a long way in mini projects.

And then the build began. I used my favourite Lepage's carpenter's glue to put the pieces together. Then I began the process of applying rough-cut boards to the walls, and added 1/2" square wall studs. Marijke's DH, Chris, cut out a bunch of 3/4" by 1/8" strips for me out of some rough wood. I interspersed these with narrow widths cut from craft sticks since the soldiers would have used whatever they could have put their hands on.


Once all the wood strips were in, I installed the doorway and glued in the last wall piece, which will be covered in faux corrugated steel. The doorway and small wall piece are installed at a slight angle, not just to provide a more interesting look, but also to allow for better viewing of the inside once completed.


Next step - rough up all of the boards even more than they already are, cut out some wood for shelves, roof supports, and a support post, then start painting the inside.

So - stay tuned! There is more to come. I will try to post every few days to let you know of the progress of our group project, and to catch you up on other things I've been working on in my long absence from posting. Until then...TTFN! - Marilyn