...or, in other words, The Knit Wit has been delivered to its forever home.
So - for the complete story - and you knew, with me, there would be a long, drawn-out story, right???? Well, here it is:
Bruce and I headed to Prince Edward Island on Friday, October 1st, with 2 goals in mind. First of all, our 50th wedding anniversary was on August 28th but making any plans to celebrate seemed a difficult task. For the last few years, with our 50th looming in the not-so-distant future, we had started going through options for celebrating this special anniversary. We kept fluctuating between a European trip - perhaps back to Paris once more as we normally spent the month of June each year in Ireland (pre-Covid, that is), or perhaps a trip to Old Quebec, or south to someplace in the U.S. Once Covid hit, our plans seemed to change month by month as things were shut down, then opened up a bit, then restrictions back in place, then removed, then back in place again. In the end, with some restrictions still in place and international travel out of the picture for now, we figured we would just go to Prince Edward Island, spend a few quiet days there, in the province of my birth, have a special anniversary dinner one evening during our visit and spend some time seeing a few of my relatives who were fully vaccinated. Reservations were made at the Pownall Inn in Charlottetown for August 27th, 28th and 29th and for supper on the 28th at a wonderful, if pricey, restaurant on Sydney Street, The Claddagh Oyster Bar. The plans were much more simple than we originally thought of a few years ago but we all have to make sacrifices during this time. Our sacrifice was definitely minor compared to what Covid has brought to many other people.
So plans made! But then we got word that our son, daughter-in-law and granddaughter would be coming through New Brunswick and staying with us for a few days on the way from Newfoundland to Montreal to take our granddaughter to McGill University where she started classes this fall. Then after staying there with her for a week, they would come back and stay with us for a few days on their way back to Newfoundland. Those days happened to be on August 27th to August 30th so we cancelled out hotel and dinner reservations and moved them to October 1st to 4th. Better late than never!
It also worked out well because I had been planning on making a birthday gift for my DSIL, Jean, whose birthday was on October 2nd. So, we could have our belated anniversary trip and deliver her birthday gift at the same time.
In my last post you saw the outside of the little shop I made for her as it was nearing completion so now we will take a step back and look at the details. First, I would like to apologize for the quality of the pictures of the final product. I normally take my pictures outside on my deck where the lighting is good and I have more control. Since I was working on the shop right up until the morning of the day we presented it to her, which means I added the last few details while in our hotel room, I was not able to get set up to take good pictures.
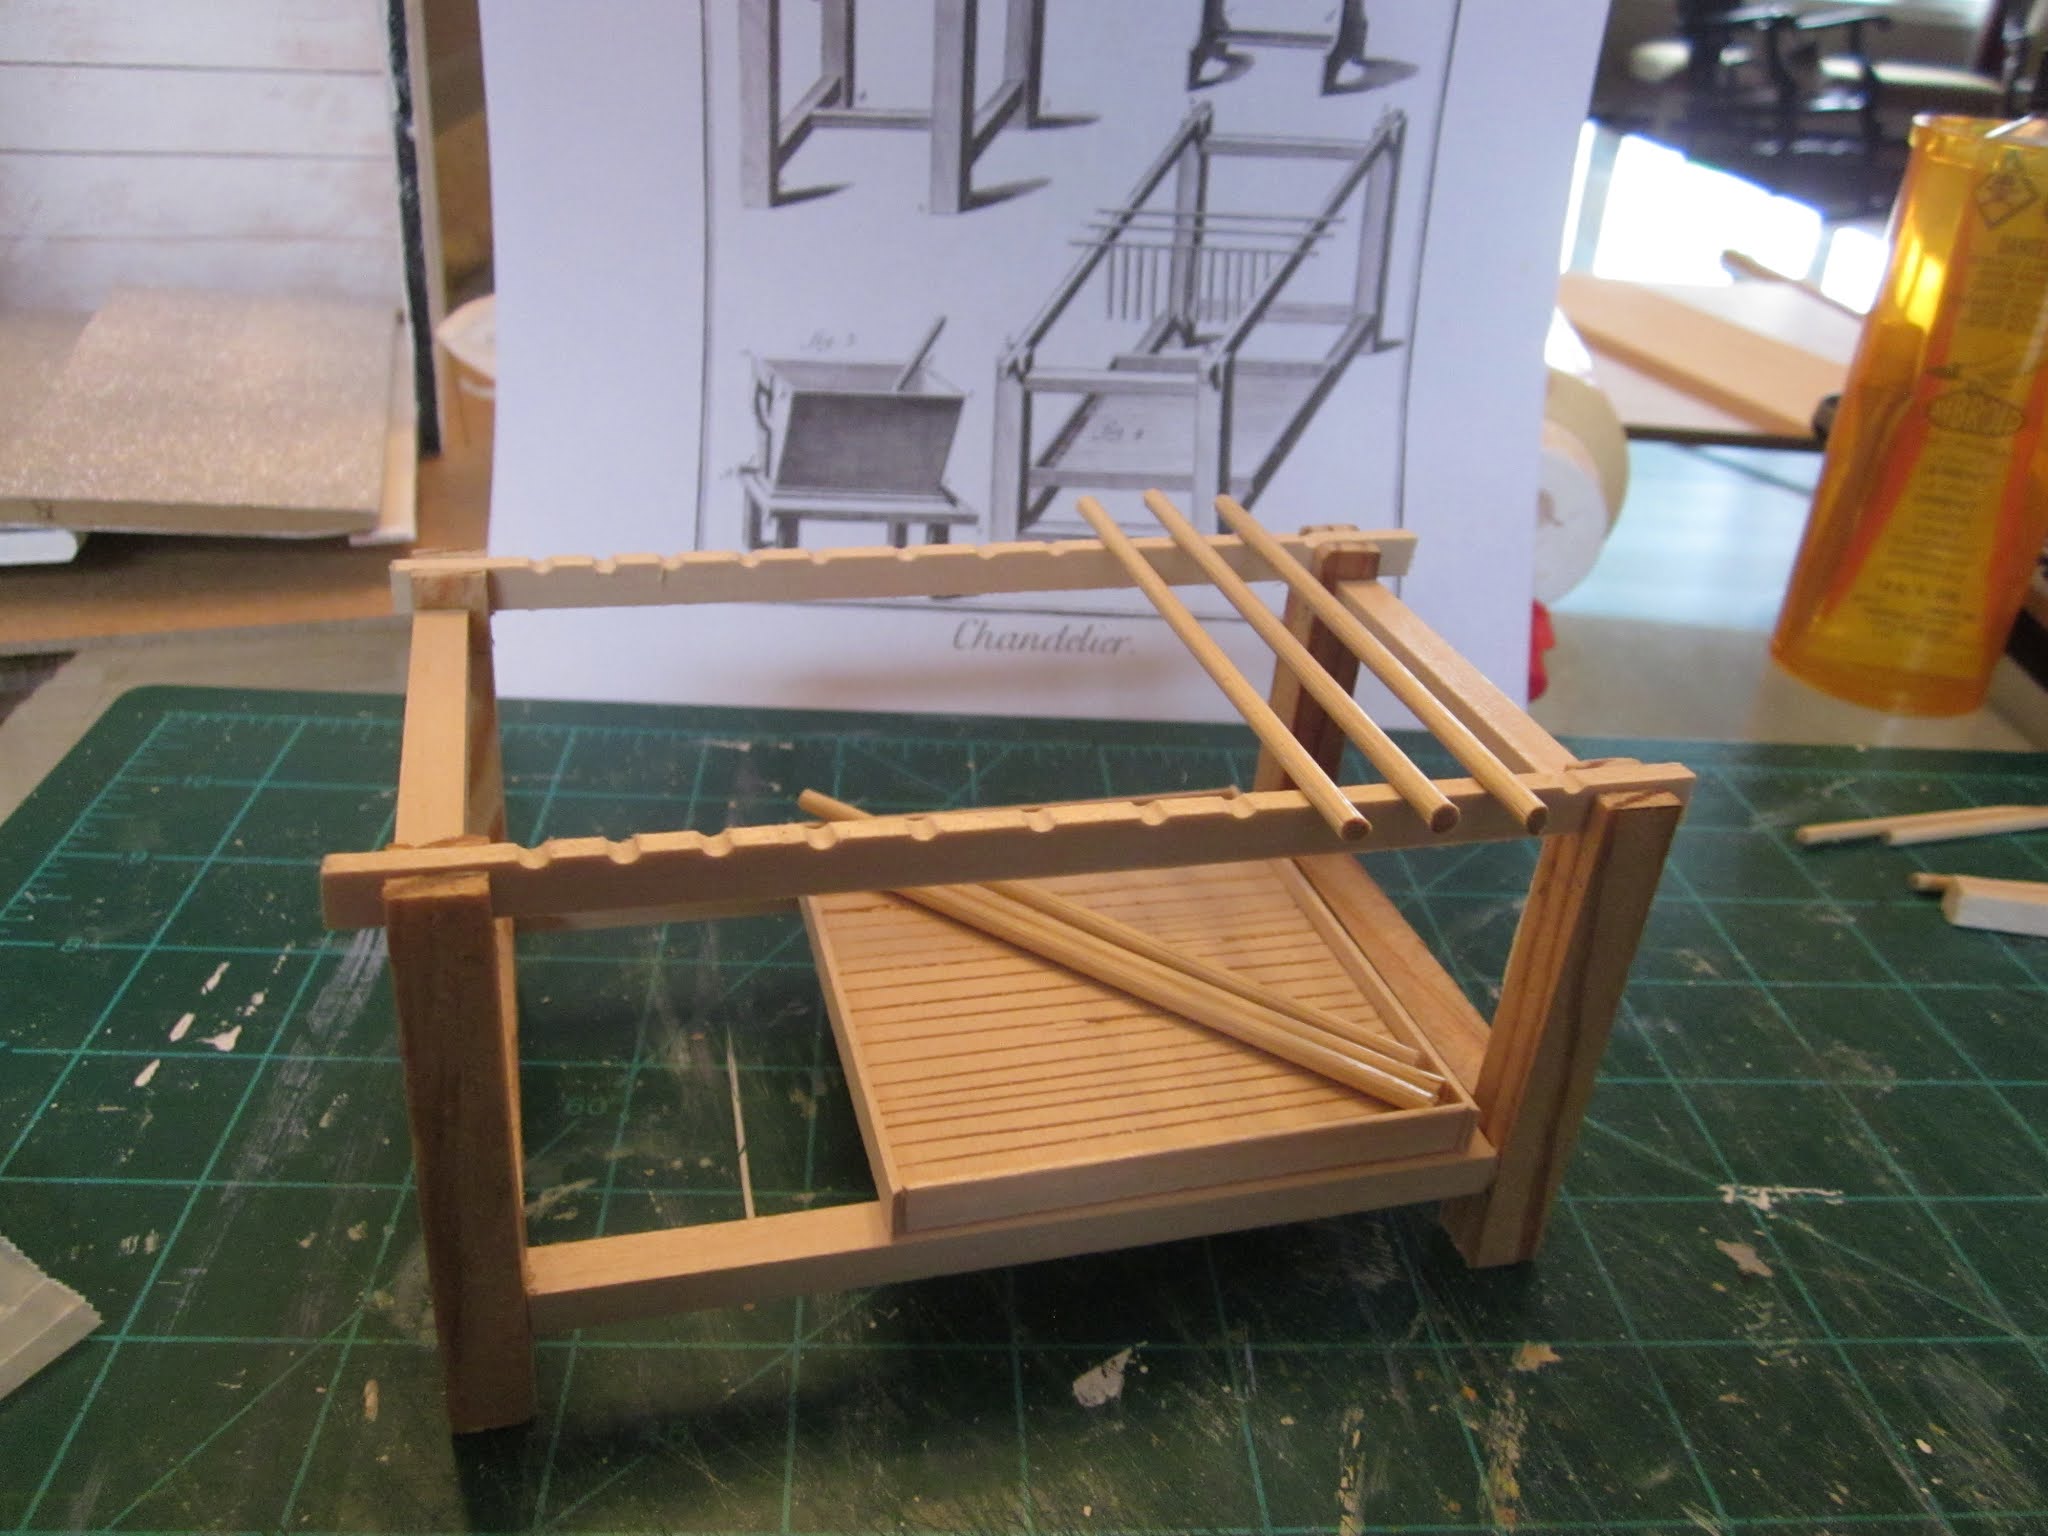
Here are some of the ones of the project in progress. Having finished the basic build, I gathered pieces of furniture from my stash to start filling this little yarn shop. I had some pieces that just needed a paint job and I grabbed two of my little Chrysnbon chair kits to put together as well.
Once these pieces were gathered and painted it was on to what has to be the most important items for a yarn shop - skeins of yarn! I needed LOTS of balls of yarn but, luckily, they moved along fairly quickly each evening as I sat and watched the Blue Jays play ball while I wound yarn.
First I made balls of "100 % cotton" which I did by cutting straws into small sections, threading lengths of cotton embroidery floss I bought from Dollarama onto a darning needle, and using it to thread the yarn through and around the sections of straw. I would never use this floss for doing actual cross stitch as I find it far too coarse but for cotton yarn, it was perfect.
As I was nearing the end of making up the balls of yarn, I went to the computer and set up a Powerpoint file for the labels for them. I made labels for "100% Cotton", "Crochet", "Chunky", and "Baby Soft" yarns. I also made labels for "4-ply Fingering" but didn't use them in the end.
Here is a shot with most of the shelves filled and the labels on the yarn. If you click on the picture you may be able to see a larger version.
With the yarn situation pretty well under control, it was time to turn my attention to other items needed to fill in this little shop. First, let me say - although I am able to knit and crochet quite well myself, I DO NOT knit in dollhouse scale! I leave that to people far more skilled than I. However, I knew how I wanted the window display to look and for that I needed 3 little sweaters. What to do?? I put my thinking cap on and came up with an idea, crossed my fingers, and went to work. While the end results weren't perfect, they did suit my needs. I gathered a few socks I thought would work as sweaters then consulted this marvellous book I have on my shelf: "Making and Dressing Dolls' House Dolls" by Sue Atkinson.
On page 156 of this book I found a pattern for a boy's "Victorian velvet suit" and I thought the jacket pattern would work perfectly. I traced out the pattern onto paper...
...then used it to cut out a piece of the first sock I was using. I glued the right sides together, leaving the bottom and the ends of the sleeves open, and turned it right-side out.
As you can see, I left a piece of the "cuff" attached to the front of the sweater but not the back. Then I folded this over to the back and glued it in place. Now, of course, it is no longer open on the bottom but since it is meant to hang in the window as a display it doesn't really matter, right??
I used little bits of leftover cuff to trim the ends of the sleeves and the neckline. That part didn't work with the next two sweaters as they were made from socks I had bought at Dollarama so the cuffs were completely sewn on, not knitted into the sock, which meant I had no real finished edge once the cuffs were removed from the sock. Anyway.. you will see all three sweaters a little further along in this post when I show the window display.
With the sweaters made I then searched my stash for other items I might have from those talented knitters I was talking about earlier.
In the wall-hung shelf, in addition to the balls of crochet cotton I made by winding pastel shades of DMC floss through pony beads and adding labels, I have two beautifully made tiny blankets. I do so wish I could name the talented person/people who made them but I have had them for a while and there was no note with them to tell me where I got them. The same goes for the incredible crocheted doily hanging from the drawer. The detail is exquisite! I really must get better at recording where I get things and who made them. I will happily give credit where credit is due if anyone recognizes the handiwork and lets me know.
To show the rest of the items, perhaps it is time we did the complete tour. As I said earlier, I will apologize in advance for the quality, or lack thereof, of the pictures.
As we enter the shop, we see there is a patron at the table, working on one of her projects while chatting with the shop owner. This is probably part of the "Knit and Natter" group that is advertised on the front of the cashier table.
In the cabinet just behind the door there is a gorgeous little baby set: bonnet, tiny dress and jacket. It is so delicate and beautifully made but, alas, to my shame, I have no idea who made it!! I am so truly ashamed of myself for not knowing. Sorry!! The little white knitted blanket is actually a piece I cut from a white knitted baby dress I bought at Frenchy's a while back. I find if I buy used baby clothes I can often find cottons that have prints small enough for miniature scale as well as knitting that is much smaller gauge than in adult clothing. Once cut, edges sealed and staging done they work very well in a scene.
I added small knitting books, plants and containers throughout the shop just to add interest and fill spots.
In order to see the second baby set we need to view it from outside the shop. Now this wonderful little dress and hat is one that I do know the artist who produced it. I received this as a "giftie" at Camp Mini Ha Ha a couple of years ago. It was made by Bridget Madill from Ontario. The picture is fuzzy but isn't the set beautiful?? Such talent!!
Here we have our shop owner doing a little knitting of her own as she chats with her customer during their "Knit and Natter" session.
Behind her is a wonderful little sign I found on the internet. The pictures here are, again, quite fuzzy but I thought the sentiment was perfect no matter what our favourite hobby is.
In case you can't read it well, the sign says: "Buying yarn and knitting are two different hobbies." Should we substitute something like" "Buying minis and building dollhouses are two different hobbies." ????? *smile*
So, nearing the end of this post, here are a few overhead shots of the interior which also show the little snack the ladies are enjoying during their knitting session - fresh croissants, jam and lemonade!
Moving to the outside, we see a fuller view of that lovely baby set from Bridget Madill.
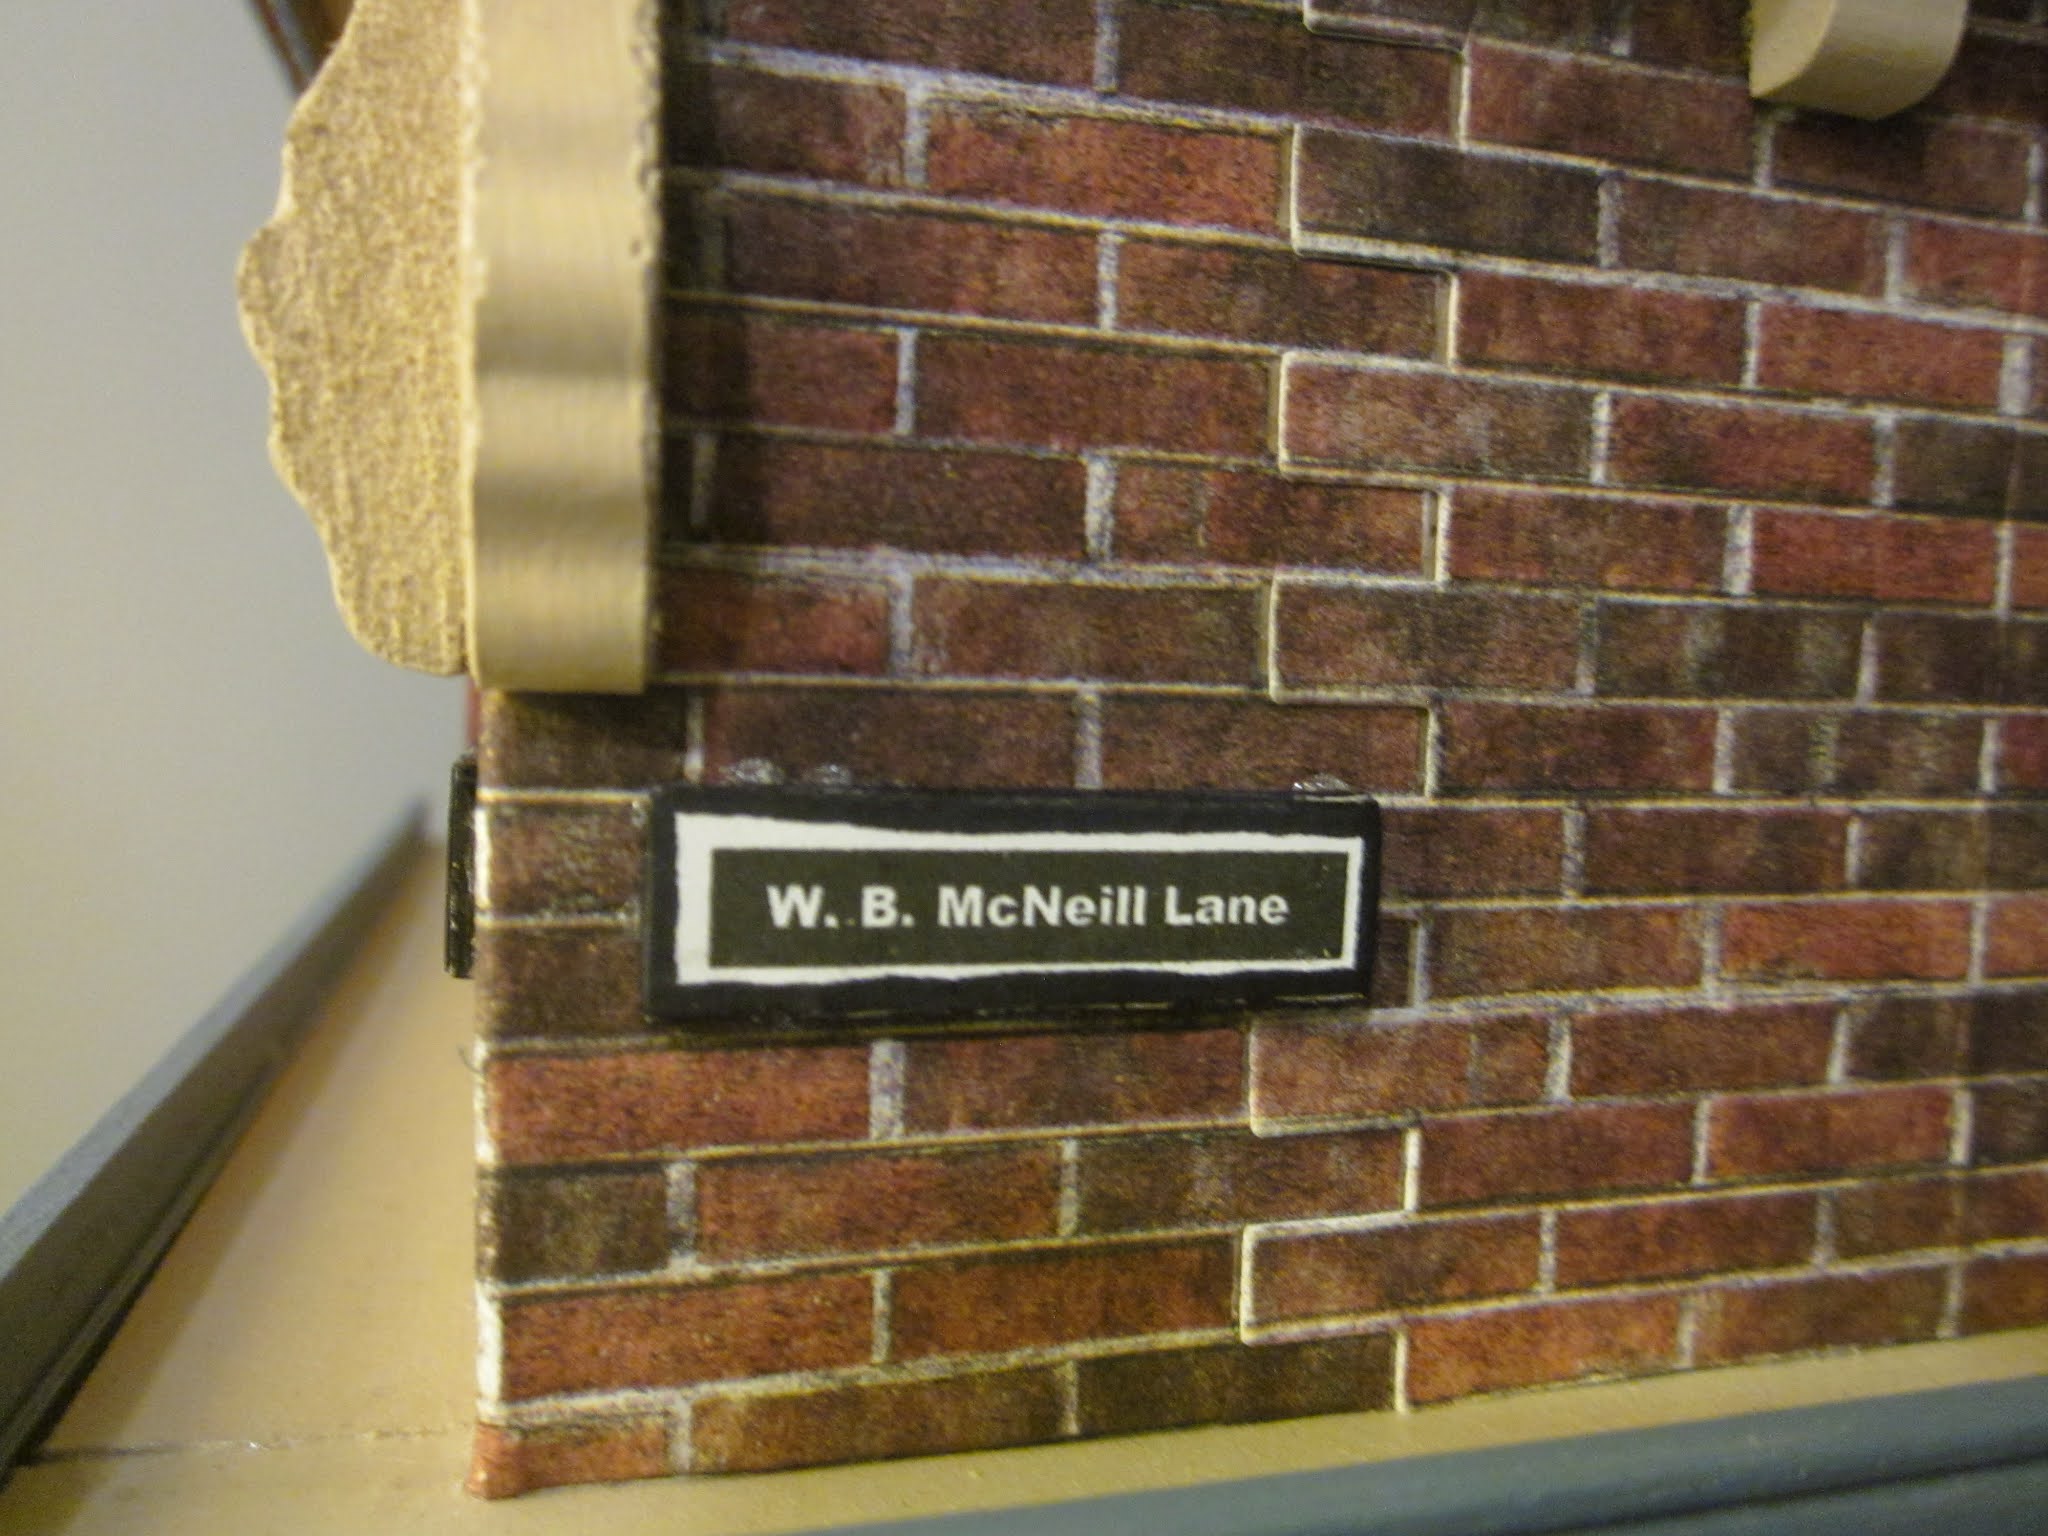
We also see that this little shop sits on the corner of A.G. MacKay Blvd. and W.B. McNeill Lane. I love adding some sort of personal touch to a gift project - something that would be meaningful to the recipient. These street names represent my DSIL's late father and mother so will always mean something to her when she looks at them.
And, of course, there is the shop name itself. I couldn't resist it and, luckily enough, my sister-in-law has a great sense of humour so took the name in the spirit it was intended!
Here, you can get a better view of the three faux sweaters I made. They certainly are a little rough around the edges but, for someone like me who doesn't do tiny knitting, they worked well for display purposes.
Off to the right you can see a couple of knitted caps on hat stands. The little blue striped one you have seen before and I made it myself. No knitting was involved! I will post a tutorial on that one sometime in the future. The little pale green one with scarf I received from
Grandpa's Dollhouse, along with several balls of "worsted weight" yarn. A few of the balls of yarn are on the shelf at back and a few others are on the cash table along with a knitting book.
So, there you have it: The Knit Wit - a gift of love and sharing for a special person in my life.
And, of course, I would be remiss if I didn't include a picture of my dear sister-in-law, Jean, with her special gift. Happy birthday, Jean!!!! With love from Marilyn and Bruce

I hope you all enjoyed this journey through the development of The Knit Wit. Now, on to another project. Too many minis, too little time!!! TTFN!!!! - Marilyn