Showing posts with label Birdcage room. Show all posts

Saturday, 1 October 2022

Just a quick catch up

 I haven't gotten a lot done in these last two weeks but thought I should drop in to let you all know where I'm at.  

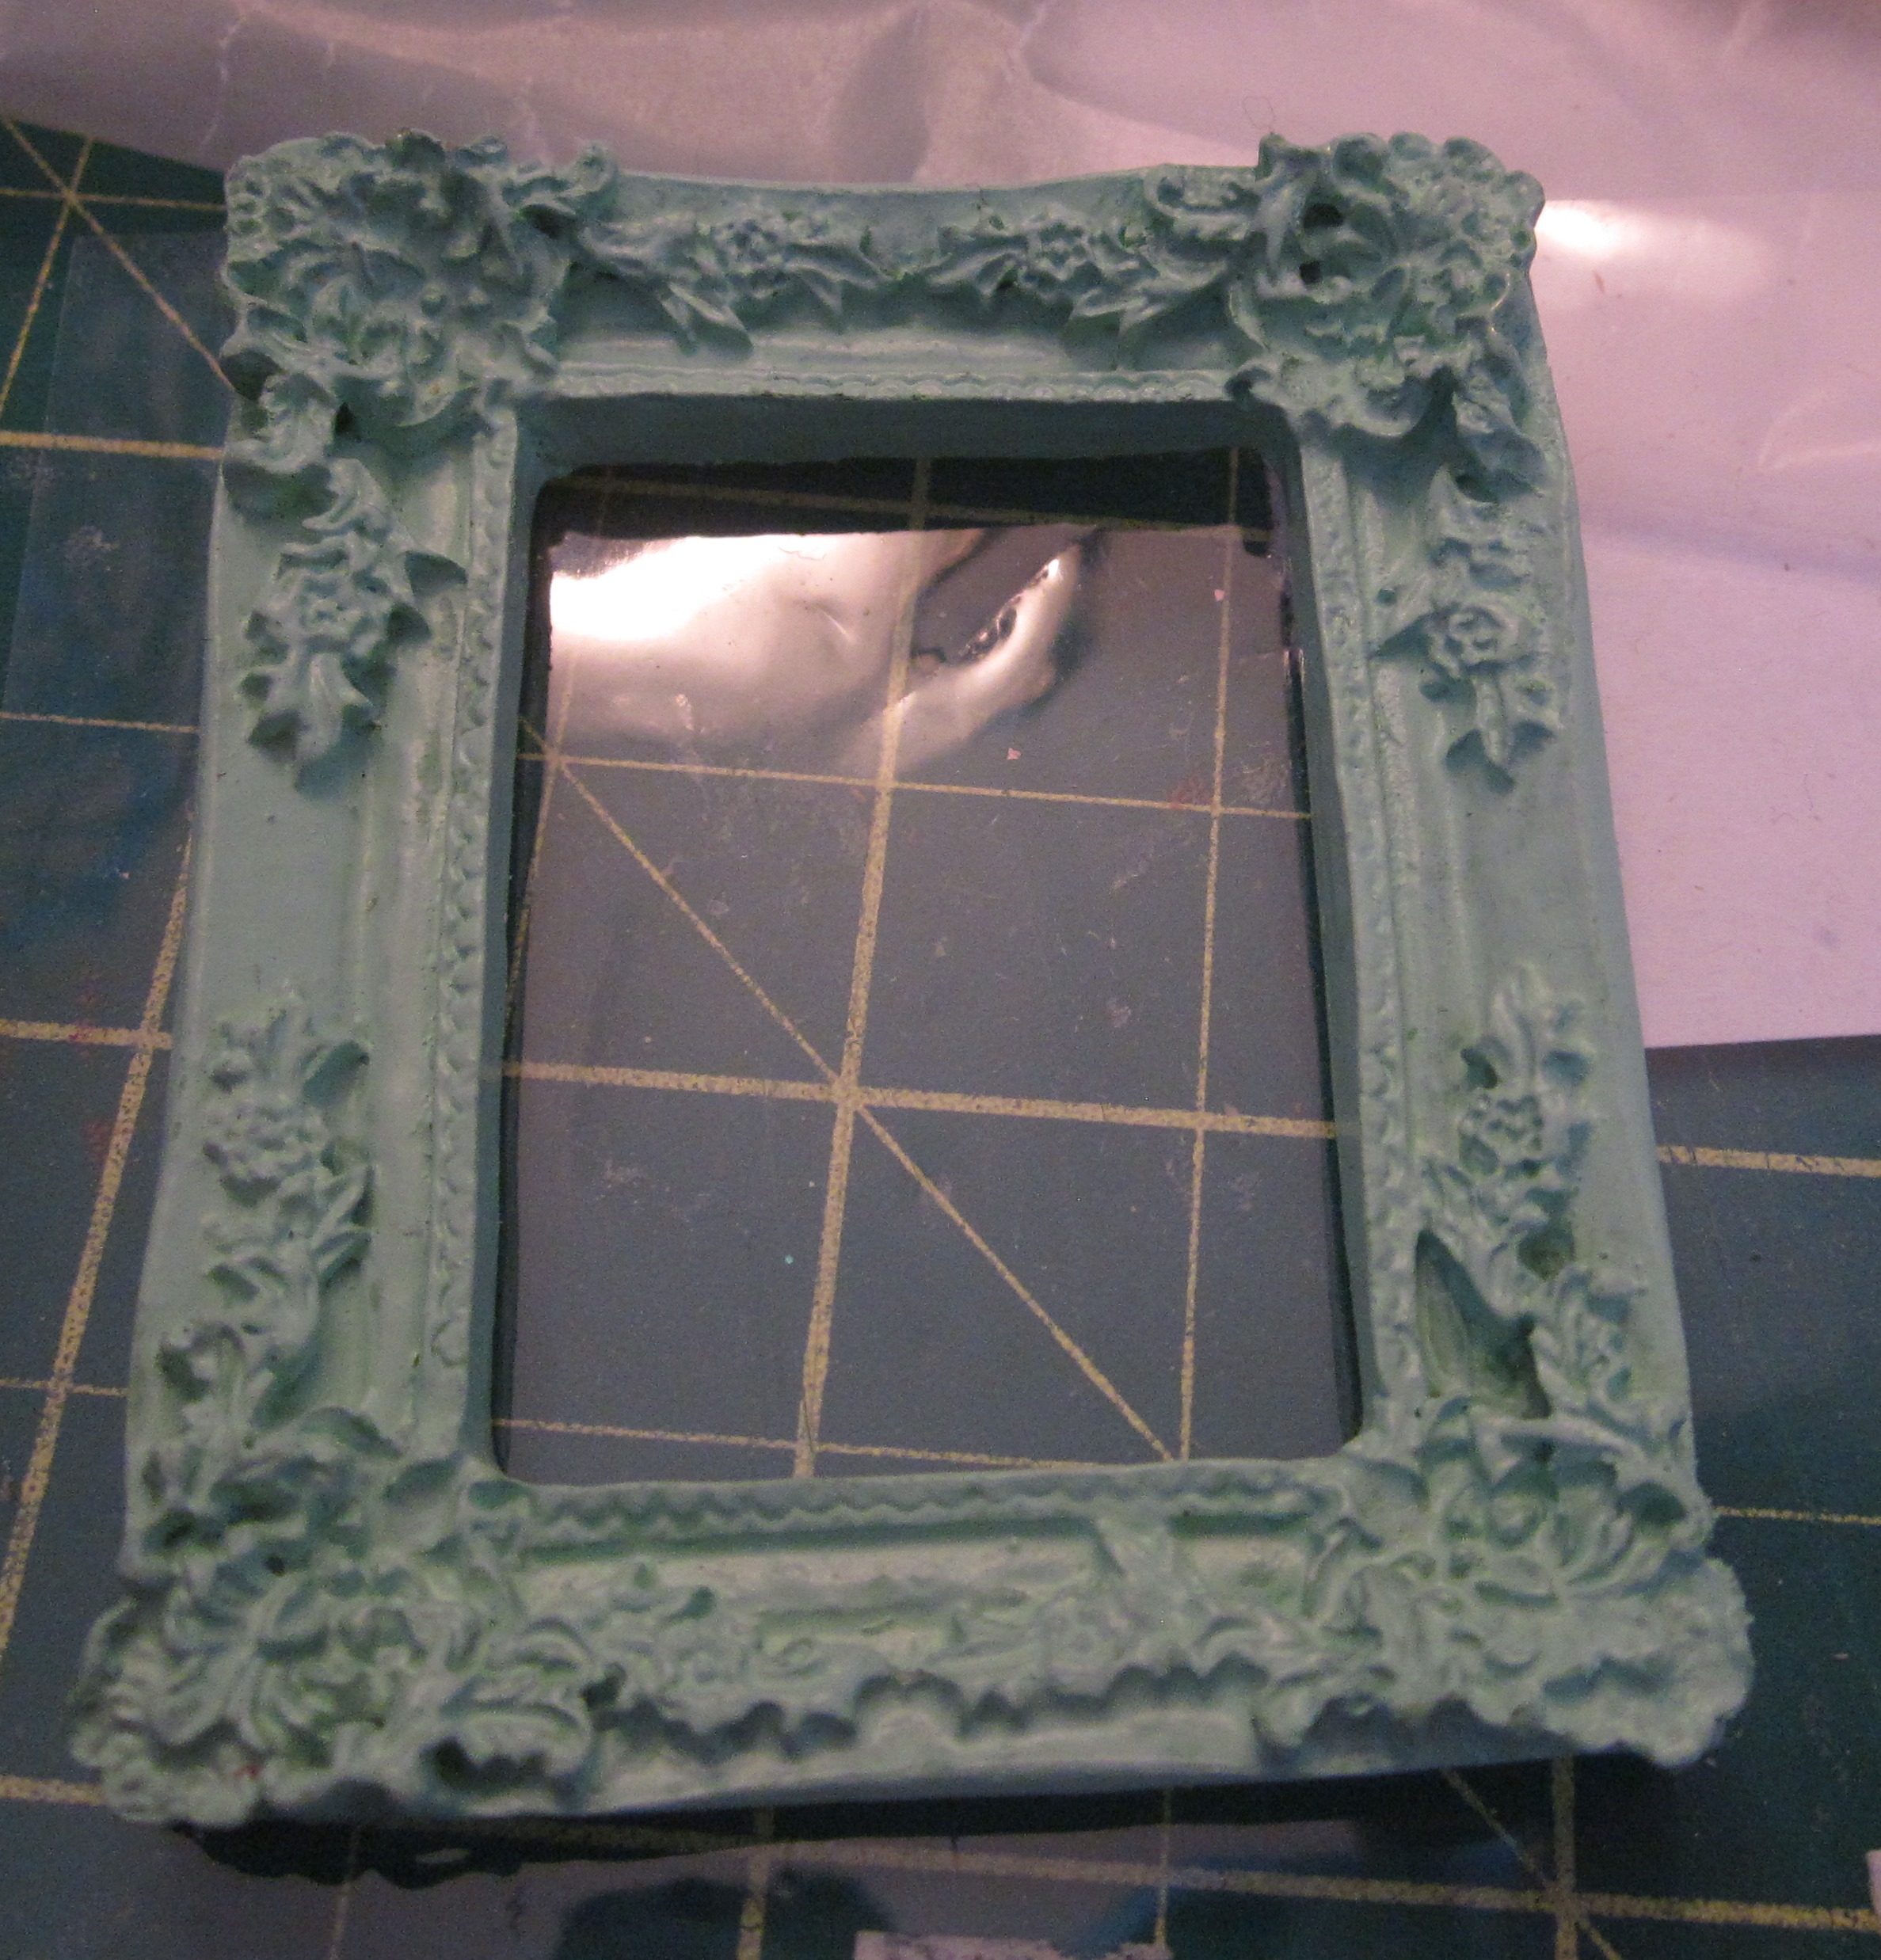
First, when thinking about my birdcage room box - or my "forest retreat" as I prefer to call it, I always pictured it with a table off to one side with a mirror above it but wasn't sure what kind of mirror I wanted. So, I headed down to my craft room - yes, of course I dropped some bread crumbs so I could make my way back out again - and looked through my stash.  There I found a box of frames I had purchased from Michael's a few years ago.  They had a whole bin of these frame sets.  There are 4 frames in each little package - 2 small round ones, one small square one and one very decorative one.  They came in four different colours and the decorative frame was different in each of the four colours.  They were on sale for $1.25 a package.  I bought lots of packages!

So, I chose two different frames, followed the bread crumbs out of the room, and headed back upstairs to see which frame I liked better.  Whichever I choose will be painted anyway so the colour it is right now doesn't really matter.  First I tried this pretty green rectangular frame.


Although I really do like it, I took a look at my other choice.  It has an arched top to it and, of course, there are several arches in the bird cage itself so this seemed like a no-brainer for my mirror choice.


This will be painted before I cut the mirror out to insert.  

This choice made, I set it aside, installed my steps and started adding the "rocks" to the base of my little retreat.


From there, I turned my attention back to my fireplace and chimney.  I dirtied up the inside of the firebox and, after taking another look at the tiles I installed earlier, decided that the location of the mantel was going to be much too low.  So, I added four more rows of tile in a decorative pattern and installed the rocks over the whole thing.  Then I installed some logs and a set of flickering fireplace lights behind the logs.  Before putting it in place I used some hot glue to build up the area that will be the "flames".  In the next stage I will use some alcohol inks to colour the glue areas to look more like flame colour. Here is the fireplace with the expanded tile area and with the lights turned on.


In the upcoming two weeks I will be painting all of the rocks - first with an all-over coat of a light colour, then adding a few other colours to bring out the rock look.  Then I will attach it to the cage and add the mantle piece.  I hope I will also have time to make a light fixture I have in mind and perhaps a few of the smaller, decorative items before my final couple of weeks will be spent on the "pièce de la résistance" for which I am hoping I can do justice.

I know this is not a lot of progress but I am hopeful I can do better before my next post.  Wish me luck!  Have fun mini-ing!  TTFN!! - Marilyn

Wednesday, 14 September 2022

Rockin' my first idea...

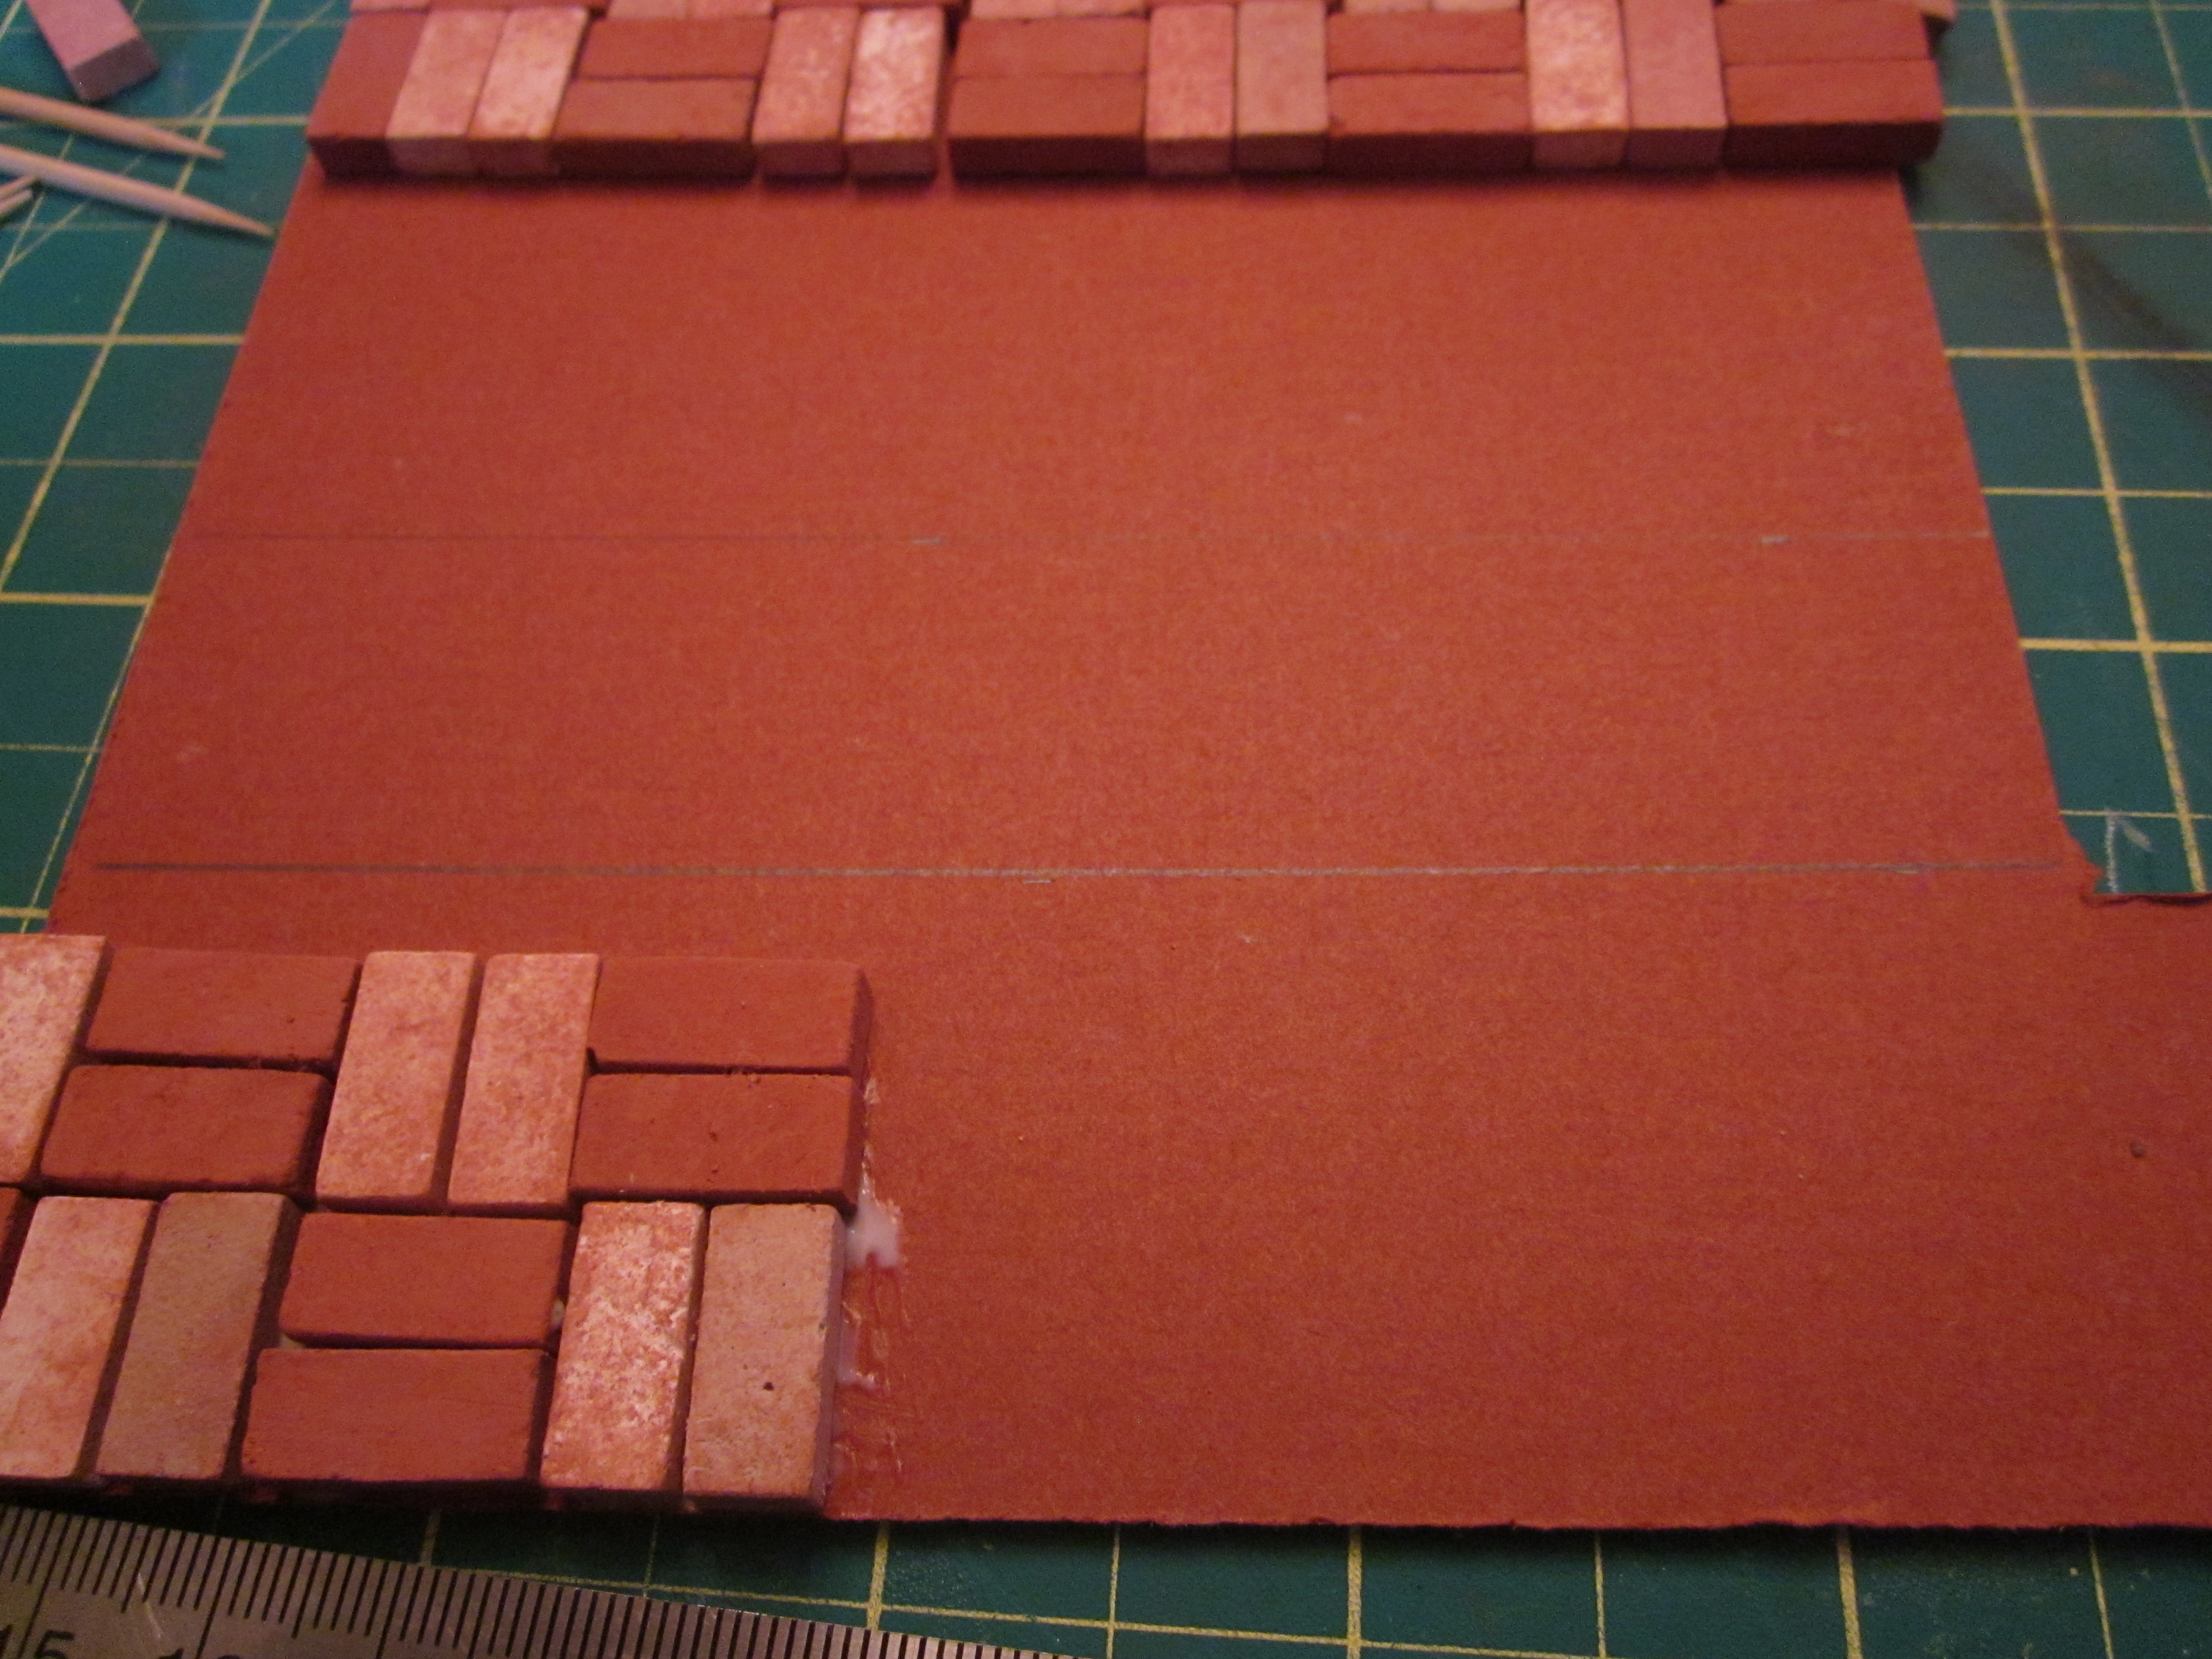
 In my last post I left off with pictures of the beginning of the floor for my bird cage project.  I continued laying the floor in the pattern I had decided on, then left it for a couple of days to make sure it was well dried.  Once I was sure it was ready, I sprayed a few coats of sealer on the bricks to make sure they wouldn’t ‘dissolve’ during the grouting process.  Then I used ordinary drywall spackle to grout, waited for just a few minutes then used barely damp paper towel to wipe off the excess spackle before it set on the bricks.  I put a piece of waxed paper on top and weighted the floor down with a set of heavy books overnight to make sure it didn’t warp while it dried.  The next morning, I used a brush and liquid polyurethane to put a final coat on and let that dry for the day, then weighted it down overnight again.

I’m happy with how it turned out. 


Now, after I re-introduced my birdcage project in my last post, I hinted in my response to Sherrill’s comment that I had a couple of surprise ideas for the project that I would be revealing after I figured out if they would work or not. To be perfectly honest with you, I wasn’t really sure what the surprises would be but knew I’d figure something out. 

The first one had to do with the arched opening at the back of the room.  I had a few of ideas but wasn’t sure which way I was going to go with it.  At first, I thought I could install an arched mirror to reflect a tabletop display in front of it.  Then I thought, instead of a mirror I should install an ornate piece of metalwork to fit the opening.  That one held some promise for a little bit then I thought about a nice stained-glass window.  Yes – that would be lovely!  And with that, I went to bed for the night.  Of course, as always happens, I kept thinking about it as I lay in bed and came up with a fourth and final option – my little hideaway absolutely had to have a fireplace!  Winner, winner, chicken dinner!!! 

The next day I started the build on the fireplace.  The first thing I did was to make a form for the actual firebox, leaving an open space at the bottom which will eventually hold the battery pack for the flickering fire.


Then I began to lay the bricks to line the inside of the firebox.     


With that done, I built the form for the chimney and attached it to the firebox.  I tried it in place against the birdcage and was satisfied with the proportions.

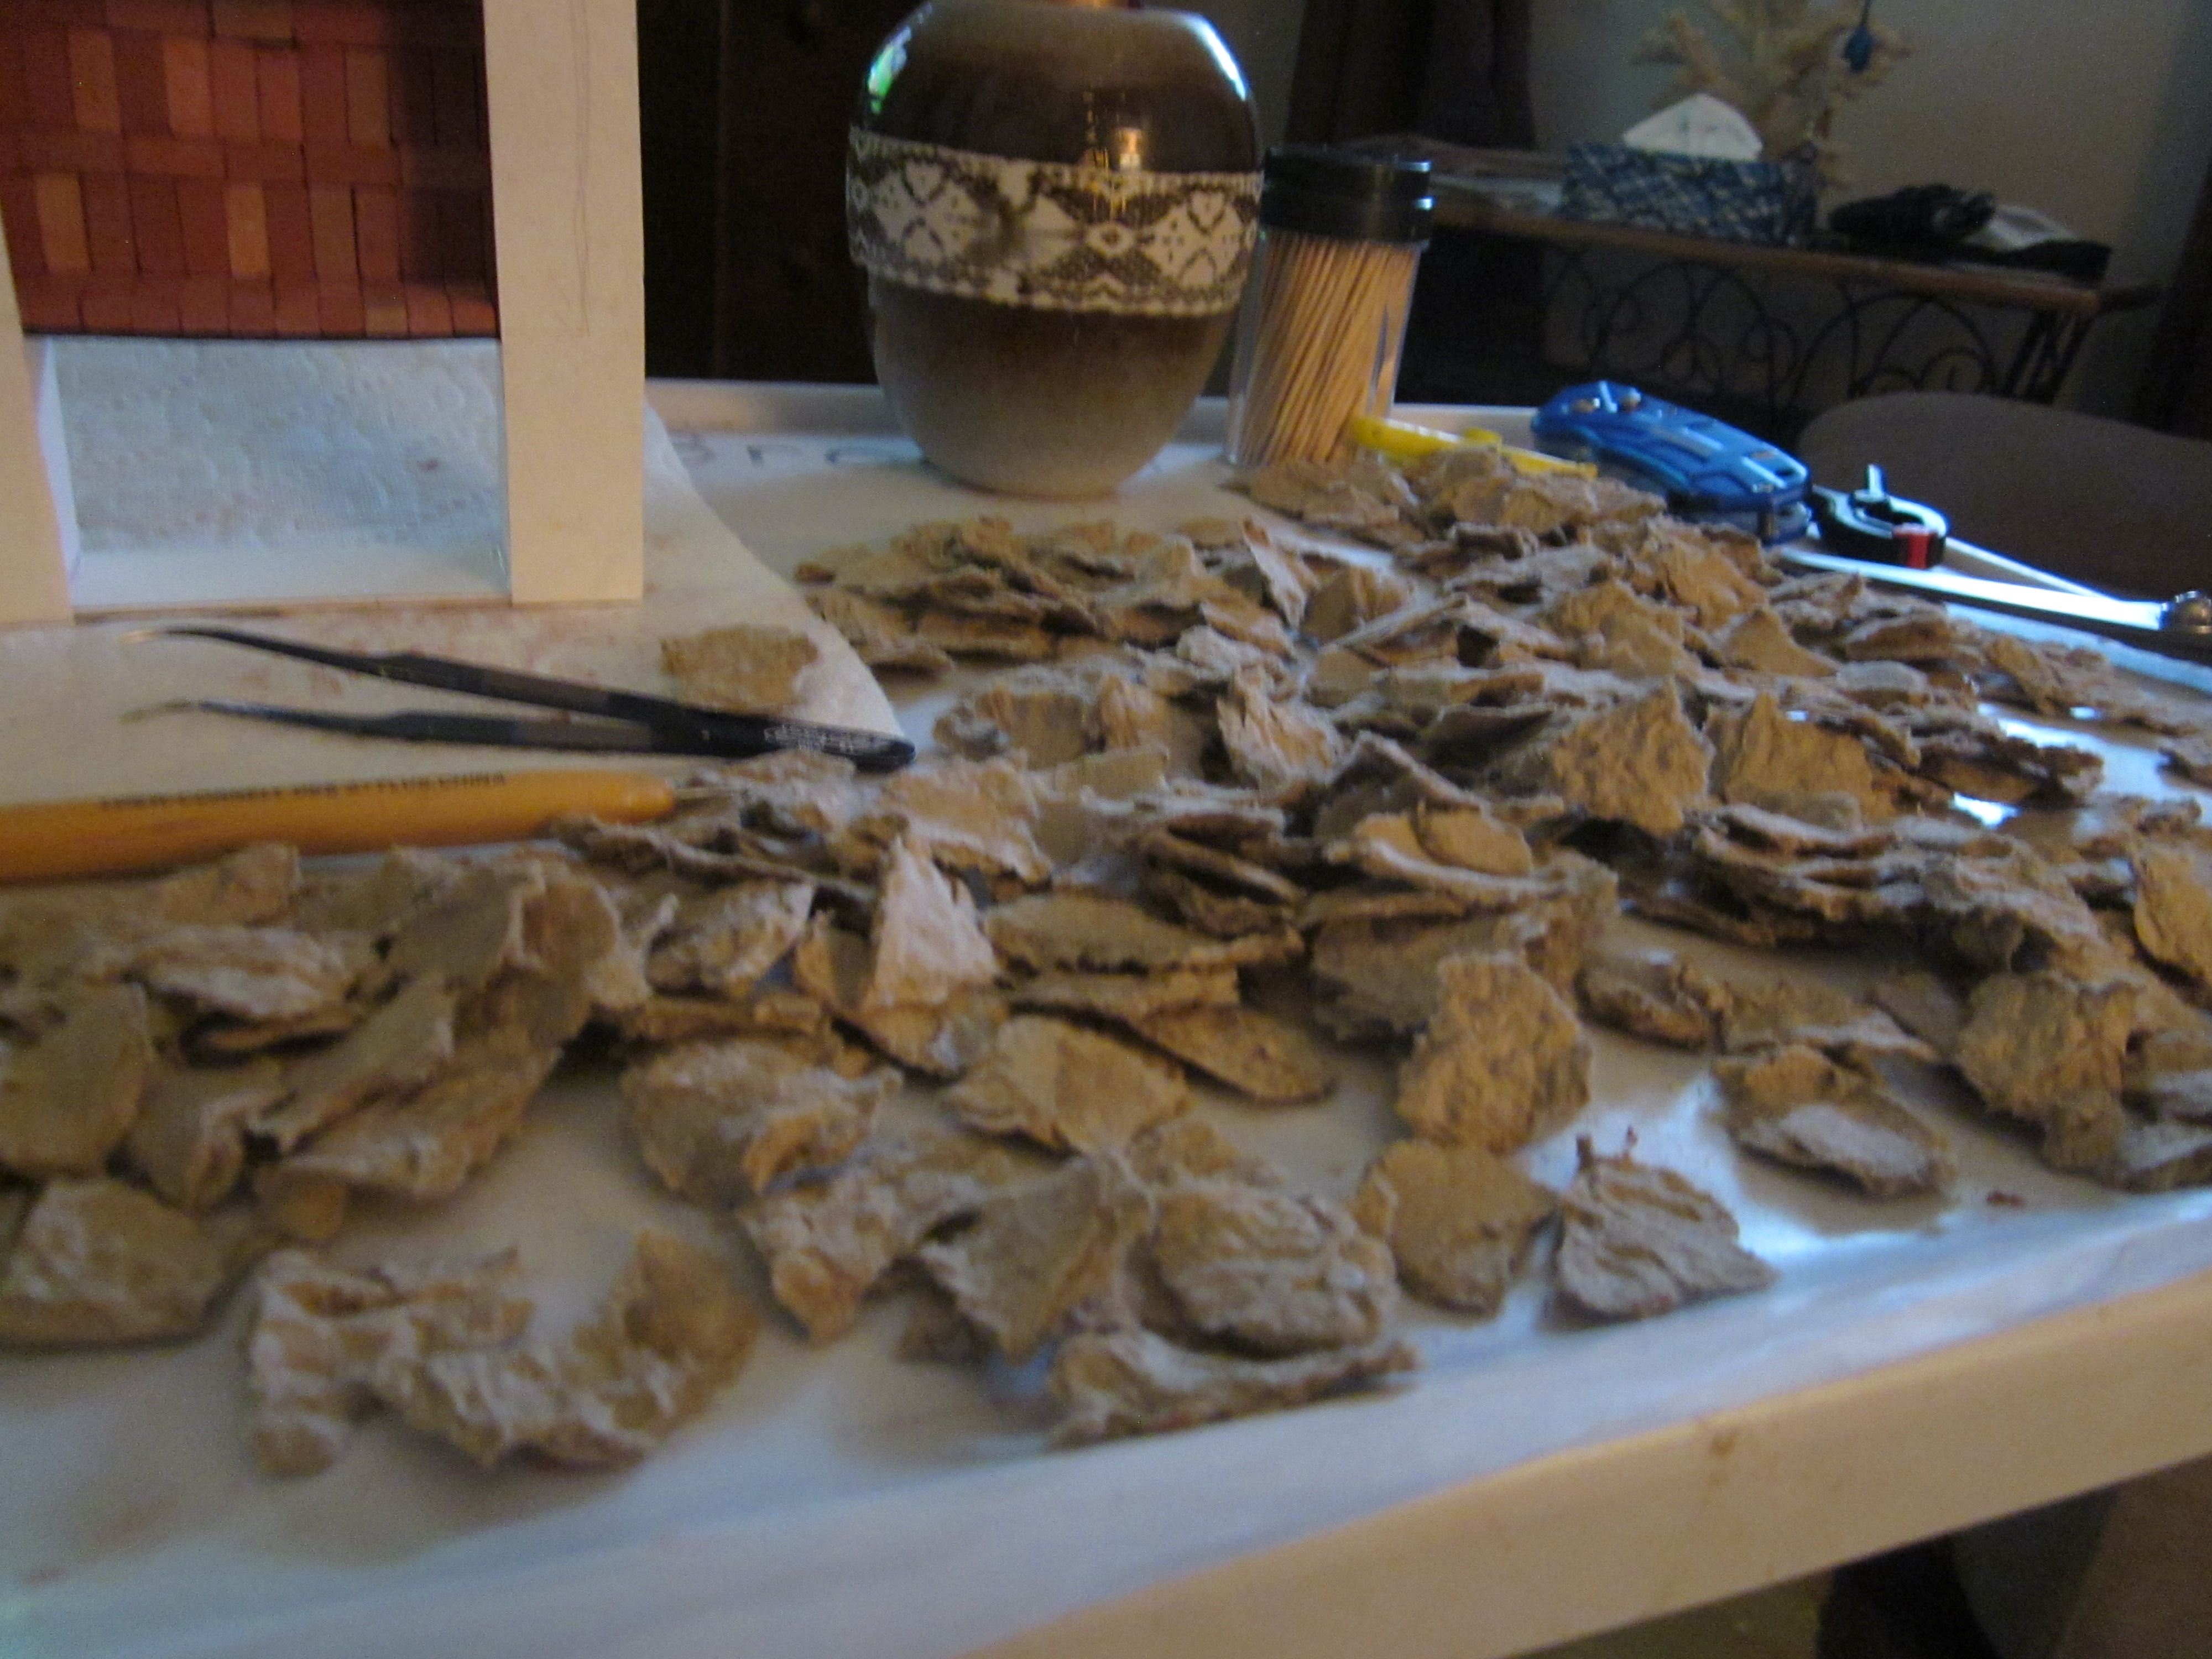
I then took some rough-looking fibre packing material I had kept from an old purchase of some electronic equipment (real life) and ripped it into many small pieces to be used to “rock” the chimney and fireplace as well as the raised wall and steps leading into my little sanctuary.  I started by installing bricks around the top edge of the chimney then gluing the “rocks” in place.  These will later be painted, sealed, grouted, and sealed again.  (Yes, I was watching the Blue Jays ball game as I did this!)


As I moved down the chimney and was getting closer to the actual firebox, it occurred to me that I should have thought about a nice, tiled fireplace surround, to break up the stone look.  What could I use for tile??  Well, I did what I usually do when faced with such a question – I slept on it.  Sure enough, after only a short time lying in bed awake, it came to me!  My DD (dear daughter) Shauna has a new favourite hobby called “diamond painting”.  If you are not familiar with it, diamond painting is a fairly new craft hobby that's a mix between paint by numbers and cross stitch. With diamond painting, you apply thousands of tiny resin "diamonds" to a coded adhesive canvas to create shimmering diamond art images.  My DD has lots and lots of these tiny little resin pieces in all sorts of colours.  They are basically available in the same colours as you could find in DMC floss so, the next morning, I called her and asked if I could “steal” some from her.  She brought her supply over and we picked out colours that would match well with the fabric I chose for the cushions for the chair and footstool.  I used colour number 3756 for the white, 3841 for the light blue and 930 for the dark blue.  The following pictures show the progression as I installed all these tiny “tiles”.  I think the size was perfect and I really like how it turned out.


Here is the fabric I used for the cushions. 


I’ve temporarily set the fireplace in its spot so you can see the chair and footstool against the tiled fireplace surround.  Not a bad match, I think. 

With that done, I turned my attention back to installing the rocks.  It is certainly a tedious job but, I think it will be well worth it in the end. (Fingers crossed!)  I can only go so far with the rocks on the chimney because I am waiting for the working fireplace lights I ordered recently.  When I have done as much as I can here, I will then start installing the rocks around the raised base of my birdcage room.  

So that's as much as I have to show you this week.  I will post again in two weeks time and will hopefully have made a lot more progress to report.  I hope you enjoy the pictures of what I have done so far.  Until the next time, enjoy the good weather we have left and keep on mini-ing! TTFN!!

 - Marilyn
Wednesday, 31 August 2022

Everyone needs a 'hideaway'.

Last month, after finishing the horse stable book-nook for my sister-in-law, I turned my thoughts to my next project.   What should I work on?  Should it be one of my unfinished projects?  One of the hundreds of ideas I have floating around in this busy brain of mine?  Should I search for new inspiration?

In the end, I decided to get to work on a project that actually incorporates all three of these.  Some of you may remember that a few years ago, I had posted a picture of a small project that I found really inspired me.  I decided on a container for the project and took a few small steps to get started.  Since making that very basic start, I set it aside and moved on to other projects.  However, since it actually incorporates the concept of an unfinished project, one that I found when searching for inspiration, and one that incorporates new ideas I have had floating in my mind for the last few years, it’s perfect!

A quick review to remind you of the project from a few years ago begins with the picture which inspired me.  I know many of you have seen this lovely piece online and I am sure admire it as much as I do. It is so beautiful in its simplicity.  Louise did a search for me and, on Pinterest, believes she found the name of the miniaturist behind this wonderful little project: Natalia Volchkova.  If this is not the right person, please let me know as I am a firm believer if giving credit where credit is due! 

I know you’ve also seen the picture below before, when I first thought about doing a project inspired by the above picture.  This is an old, ratty, dirty bird cage I used to use years ago in my outdoor garden decorating.  It has sat in the garage for years, gathering dust and grime.  The wicker in the bottom edge of the cage and dried and broken and was also looking very sad.  So, I removed the wicker, took a metal brush to it to clean off the dirt and dust, and took another look at it from every angle.  Having removed the original arched door to the cage I then decided the opening would look better at the back of the project and Bruce removed several of the vertical bars from what had been the back of the cage, making it the new front with a nice wide opening.


 I removed the ugly clasps that held the top to the bottom of the cage and painted it a very pale blue.  I really love the softness of this colour.  It works perfectly for the scene I have in my head.


I decided I would raise the floor so I can hide a battery pack underneath and that I would have a brick floor inside and would fill in the space where the ugly wicker used to be with a stone look finish.  Here I have cut a piece of mat board to fit the inside and have started to dry fit the bricks.  Then I drew some straight lines across the floor to make sure I could stay in line as I went and I started to glue them down.  When all the bricks were laid they were sprayed with a sealer and left to dry before I applied grout to them.  I will show you the finished floor in my next post.


In the meantime, I had decided I would make a wicker chair and footstool for inside this little “hideaway”.  Well, I actually thought I would make a wicker chaise longue but Marijke, Louise, and even my DD, Shauna, said a chair and footstool would be better so I reluctantly gave in happily changed direction.  Here is how they look before I made the cushions for them.


So now I am off to grout the floor and begin the tedious job of making “stones” for the outside.  In the next post I hope to be much further along!  Until then, big hugs to all of you out there.  I so enjoy reading about the wonderful things you have been doing in your own blogs.  Minis go deo!! (Minis forever in Irish *smile*) TTFN!!! - Marilyn

Monday, 17 June 2019

Something new and something old...

What's new??? My knee, of course! This will be a short post as it is still uncomfortable to sit at this computer for very long but I wanted to catch you up. So - let me ask you, does anyone think I may have gone a little overboard with my obsession with miniatures when I keep staring at the honeycomb dressing and asking myself if there's anything I could use it for????


Creepy, huh?

Overall, for all of you who are contemplating having a knee replacement, or are waiting for the call and are very nervous about it - I am here to tell you this is nowhere near as bad as I thought it was going to be. To be honest with you, except for right after my exercises, or when I totally overdo things (as I have a habit of doing), I am in no more pain during this recovery than I had been for the 2 or 3 years leading up to the surgery. Now I'm pumped to get the other one done!!! Guess I need to fully recuperate from this one first. *sigh*

What's old?? My old dusty, dirty, rusty bird cage, of course. I'm not able to do a lot right now but it certainly doesn't stop me from giving directions to my DH and getting him to get started on it. Speaking of my DH - since I got home on Friday he has been wearing T-shirts he has gathered over time with "VOLUNTEER" printed in large letters across the back. Coincidence?? I doubt it!

Anyway - today I asked him if he could cut out the section of vertical bars I wanted to remove. My plan was to take out all the bars in the front of the cage with the exception of the ones immediately to the left and right of the corner posts, leaving the front of the cage wide open. However the more I looked at it, the more I liked the arch in the original door for the cage. So, I had my DH turn the cage around, take out the bars at the back, making it the new front, and remove the cage door. The archway now is part of the back wall. I thought it would make a nice focal point.


Using my small metal files, I filed down any sharp edges from the bars that were cut and I'm ready to go.


I know it's a little hard to see because the side bars kind of meld into the back bars in the pictures but you should get the idea.

I have definitely decided to use the little arch in the top portion for a little stained glass. Here is the inspiration for what I will be trying to replicate in those little half-circles:


Things are really coming together in my head now but I need to get DH to pick up some spray metal primer and a tester pot of the paint I want before I can do much more. Sorry for such small posts but, until recovery is complete, I can't do a lot of work at a time. I am enjoying the planning phase though!!!

Thanks for all of your best wishes. Yes, I will be better very soon - I'm a tough old bird! TTFN!!! - Marilyn

Sunday, 9 June 2019

Breaking the 10th Commandment yet again!!!!!

I try, God, I really try! But I just can't seem to help myself! I'm really pretty good with all of the other commandments but that one about coveting??? When there are so many beautiful mini works of art out there? I'm sorry to say, I covet. I covet big time. I'm so bad but remember - I am a work in progress!

Part of my 12-step-plan to overcome my tendency to covet is, when I find something I really love and would love to have for my very own, make one myself!! They do say that imitation is the sincerest form of flattery so it can't be all bad, can it?

So, putting Dorothy's garden behind me, I know I have so many unfinished projects that I could now take up and get to work on but I found a picture on Pinterest that I really love:


Isn't it pretty!!!??? I like pretty! As I mentioned, I found this picture on Pinterest but, unfortunately I can't seem to find it again. I'd love to give credit to the person who made this lovely piece. If anyone knows whose it is, I can update this post to reflect that. [UPDATE: My BFF, Louise, came through for me - she found the picture on Pinterest. This inspiration piece was made by Natalia Volchkova. Thank you, Louise! Natalia: If you ever stumble across my blog - thank you so much for this beautiful piece of inspiration. Your work is amazing. - M.D.]

In the meantime, it occurred to me that I had a really old decorative birdcage out in our garage. I used to fill it with decorative items and sit it in the middle of my patio table outdoors every summer but I haven't done that for a number of years now. So - I went searching and I found it!
It's old, it's dirty, and it was filled with old artificial greenery and flowers, not to mention a substantial amount of dead bugs and spider webs. Yuch!

I cleaned all of the crap out from inside it and now the bare bones can be seen.


Now - I know it's not beautiful right now but I can really see the potential! I'm going to cut out the vertical wires across the lower part of the front, which also means the woven wicker will have to come out all the way around as well because it will just undo once I cut out a chunk of it. I'm thinking I might use hemp cord to weave through the remaining bars to replace the wicker I remove. Then, spray paint the whole thing either a white or a nice soft bluish-grey, or maybe even soft pink! - Then I'll be off to the races!

I think this could be fun! Once completed, I won't have to covet the one I saw in the picture! See, God, I am trying to come up with a self-cure for my wickedness! I hope you approve.

I'm afraid I won't get a chance to try it for a few weeks as I am getting a whole new knee on Tuesday so may be down for the count for a little while. But the thought of this little diamond in the rough will focus me to get better as quickly as I possibly can. Enjoy the sunshine everyone! TTFN! - Marilyn