Showing posts with label market stall. Show all posts

Monday, 27 June 2022

I'm getting better....


…this time it’s only been two months since my last post.  Who knows, at this rate I may actually be back to posting weekly some time before the end of the year!

 So – no excuses – I’ve just been lazy and haven’t been spending as much time on my minis as I should.  Okay – maybe not lazy since I was doing a lot of other things along the way.

I am anxious to start working on my next project, which will be somewhat of a challenge since I’ve never done one like it before, but I really feel I need to finish off the Hearth and Home Market Stall first as I am gifting it to my daughter.  I’m sure she’d like to see the finished project sooner rather than later.  So, here goes…

When last we saw the market stall, I had found a way to light up the large floor-model, mesh “Christmas Gifts” and put them in place, I had also fed lights through the square wooden candles I had made, and I managed to fill two of the back shelves and the side shelf. 

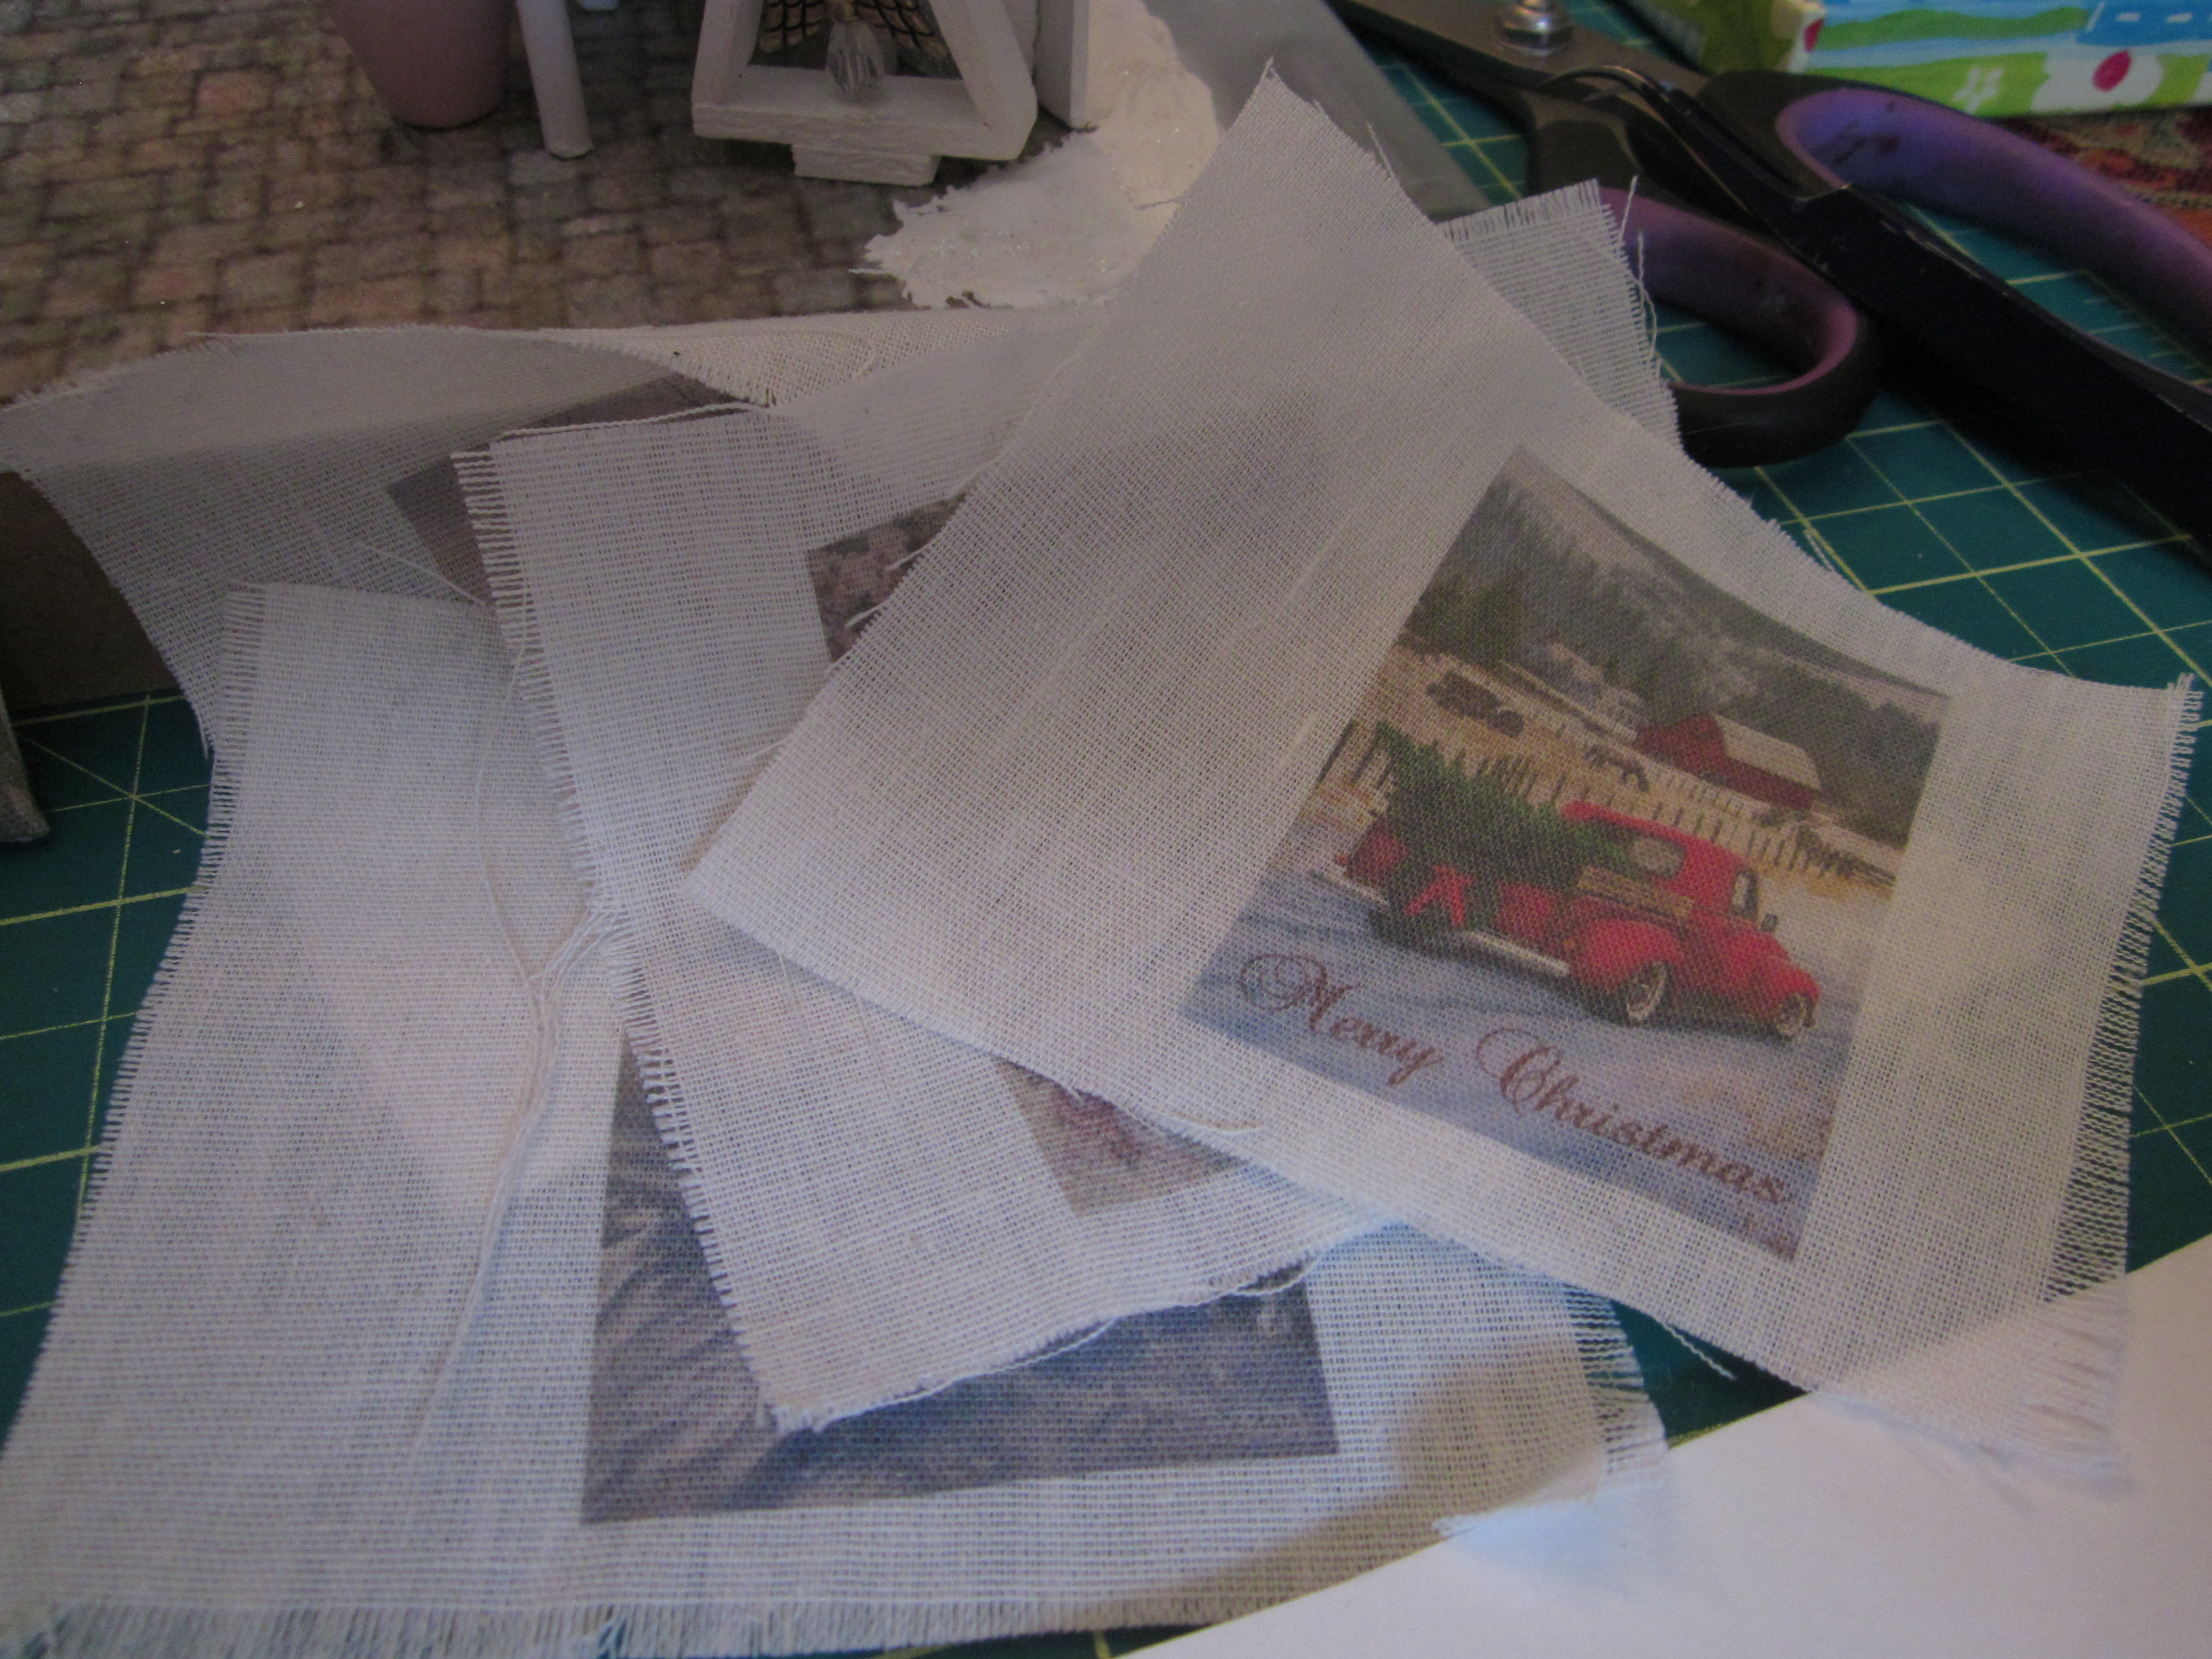
Since then, I printed some pictures and cushion covers onto some lightweight fabric.  I especially like that when the pictures are framed, having printed them on fabric they really look like they're on canvas. These pictures are the "before" so the pictures do look better when you see them later in their frames.


I made up a set of dishes from some images I had printed on card stock, then made a little display rack for them.  I have dinner plates behind and smaller, salad plates in front - all matching, of course. This is a picture before I added the small decorative bottles on the shelf beside the dish display. 

I finished off some of the other accessories and started filling the stall.  Louise was visiting one afternoon a few weeks ago and, having nothing with her to mini for herself, she put together a few decorative bottles I have spaced among the shelves.

I also made a box that I glued to the back of the building to hold the battery pack for the lights.


I finished the whole thing this afternoon and our daughter, Shauna, arrived after work to pick up our grandson so she was able to take it right home with her.  Good timing! 

I hope you enjoy these pictures of the finished project. 


Left side:


Interior with the lights on.  You can see a few of the bottles Louise made for me next to the dishes.  Also - two of the three cushions I made are sitting in the chair.  The third is just out of view at the foot of the chair.

Lights on:


Lights off:


 Right side shelf: 


Here you can see the right-hand door with a couple of pictures I printed and framed.  I do like the pink Christmas tree.  How pretty would that be in real life?


The tables beneath hold more of Louise's bottles and some pretty pottery that ties the pink and blue theme together pretty well.


So that's the story of the little Hearth and Home Market Stall.  I hope you enjoyed it and that my daughter does as well!  Thanks for checking in.  I will be back soon to talk about my next project.  Hugs to all!  TTFN!!!! - Marilyn


Friday, 29 April 2022

Three months since my last post??? Really???

I can't believe it's been that long.  I haven't been spending nearly as much time on mini projects as I would have liked but, in between many other things I had going on, I did squeeze in some time when I could.  So, I thought I had better catch things up to where I am today with my minis.

A long time ago my one of my sisters-in-law had asked me if I could help her replace a piece she lost from a tic-tac-toe game she had.  She has always been a big lover of horses and still spends every Sunday afternoon at a local equestrian school where she enjoys a few hours taking a horse or two out for a ride.  She has a small tic-tac-toe game with pieces that, instead of being Xs and Os, are cowboy boots and cowboy hats but she lost one of the cowboy boots.  She asked if I could make one to replace it.  I tried using one of the resin pieces to make a two-part mold but it did not work out well for me.  When I tried to use the mold to make a Fimo copy, it did not bring up the details very well at all.  A friend of my daughter had just started a business to offer 3D printing and laser cutting services.  I turned the resin piece over to him and he created two 3D copies so I could provide a replacement and a spare for my DSIL.  Here is the original and the copy.  They are about 1.5 inches (3.81 cm.) tall.


The details showed up really well.  Then I mixed some custom colours and very carefully painted the two copies.  You can tell which is the original because it has been faded over time but I think the two copies turned out well and my SIL was very pleased with them.

So, moving into March, Marijke, Louise and I continued to meet on Wednesday afternoons as often as we could and I managed to work away, little by little on my market stall project.  One of our Wednesday mini days was also used to celebrate Louise's birthday.  I made her a chocolate cake with cream cheese butter frosting.  I decorated the side with large chocolate slivers and the top with her favourite flamingos (and a couple of shamrocks to include her Irish heritage).  We had cheese, crackers, deli meats and fruit for a wee lunch then each had a big slice of chocolate cake which everyone seemed to enjoy. 


Louise took a picture of the cake before we cut it.  Notice the case she has on her cell phone??  Of course it's a flamingo.  How could we expect anything else?  *smile*

Back to my actual mini work - - -

In an earlier post in January about the market stall I introduced you to the decorative mesh Christmas gifts I was hoping to install lights in then find a place for them in the stall, if I could get them to work.  Well, I finished wrapping the last one with the mesh ribbon and yes, I was able to fold up some lights to go inside.  I glued them into the back corner of the stall.  You can see some of the remaining length of light string coming out from them but I had plans for them too!


I admit, I am very happy with how they turned out. Not only are they pretty but they will provide plenty of light in what could otherwise be a very dark corner.

I also saw a couple of other real life ideas that I decided to try in miniature.  Here I have cut out pieces of 1/4 inch square balsa wood then I drilled holes through the middle of each.  

I also cut out small blocks of wood in sets of three then stained all of these pieces and coated them with a crackle medium.

While I waited for the crackle to dry I took some seeds I had collected in the fall and coated everything with glue to keep them from drying out and breaking apart.  These were to be used for decorating the pieces I was planning to make.  I took a set of three rectangular blocks and painted the fronts of them with ivory craft paint then decorated them with strands of hemp string, tiny pieces of lycopodium, seeds and beads.  These will sit on a shelf in the stall.  In the second picture you can see I also painted up some wooden words to hang on the walls or sit on a shelf:  Welcome; Home; Family; Friends; love.


I painted the taller blocks of wood that I had drilled holes into in sets of three.  You will see more on these in a moment.


   I also took the pins out of some wooden push pins and glued them together to make pillar candle holders.  I aged them and added three of the candles I had shown you back in January.


Then I prepared an arrangement for the shelf on the side wall of the market stall.  I used the candle holders, one of the Welcome signs I had made earlier, a large Christmas picture I mounted on wooden sticks, cutting and separating the strips to make it look like a vintage sign, and one of the smaller candle holders I showed you back in January.  I think these will look good on that side shelf.


So, now I will show you where I am as of today:  I have taken the remaining length of lights and glued them around the edges of the inside, while using six of them to push up through the holes I drilled in those two sets standing blocks of wood. I really like them a lot and will use that idea again in the future, I'm sure.  I started filling the shelves with some ceramic pieces from Janice Crawley, some small blue "believe" signs I made, some more of the word signs, a set of the wrapped "presents" I talked about earlier in this post, and some little crystal angels.  I still have a lot of things to finish up and add but at least I can now see the "light at the end of the tunnel".  As you can see there are still a few lights hanging loose but I will weave those up onto the bottom shelf as I finish adding things there and on the floor beneath. 


 That brings us to the end of this post.  I know I have been including Bruce's cat cartoon contributions in posts and, even though I have not posted in a while he continued to send me his little finds.  However, the other night he sent me a different one with the subject in his email saying "This is us".  I think it is a good example of how we managed to make it to our 50th wedding anniversary last year. 

 Enjoy and I hope to be more active on these boards as we move into summer.  Love to all!  TTFN!! 

- Marilyn


Monday, 31 January 2022

Trying out a few ideas

 Okay - I still have to put the mesh covering on the smallest of the three wrapped/lighted gifts in the corner of the stall and try to install the lights.  While I am thinking about that I moved on to try a couple of ideas I had.  

I do love the look of Christmas wreaths that are made entirely from ornaments and I remember a tutorial from an old AIM magazine - sorry - can't remember exactly which magazine but I think it was about 8 to 10 years ago.  I remember that they cut two circles for each wreath with 2" diameters and 1" holes in the centre.  When I looked at that size the other day I thought it was a little large for my needs so instead I cut my circles 1.75" with .75" centre holes out of regular white Bristol board (or poster board as some people refer to it). 

I glued a small piece of ribbon to one of the circles (with a small jump ring inserted for a hanger), then glued the other circle to it to make it a little more sturdy.  

Then I painted the circles green in case I didn't get them completely covered in beads and I didn't want the white showing through.  I gathered a lot of beads of different colours and started making choices.


I made two wreaths - a pink and green one and a blue and silver one.  For the pink one I followed the instructions as I remembered them from the old AIM article.  I first placed 8 beads evenly spaced around the outside edge of the circle, then 8 beads evenly spaced at the edge of the inner circle.  Then I started filling in around and between them.  At the end I found myself with several tiny areas showing where I had to fit little beads here and there so the background wouldn't show.  For the blue one, I glued the beads all around the outside edge with no spaces between them then did the same on the inside circle.  Then I filled in the middle of the circle.  I added some small beads here and there to add a little more silver and just because I wanted to.  *smile*.  

I did find the second method better than the first so, if I ever make another one I will glue the edge beads without spaces between them.  Here are the finished wreaths:


These will be hung on the inside surface of one of the doors to the market stall.

Next I moved on to another one of my thoughts for market inventory.  I wanted to make some pillar candles so I gathered some straws with the thought I would make my candles from actual wax.  I had planned to cut the straws a little longer than I wanted and stand them up on small spots of clay, or on dots of hot glue.  Then I would have cut pieces of floss to act as "wicks", secured them to a toothpick and hung the ends into the upright piece of straw.  Then I would have carefully filled them with melted wax and let them harden before removing the straw from the outside.

While I know that would have worked and made perfect little candles to add to the shelves of my market stall, I really was not in the mood to go to all that work.  I started thinking about alternative ways I could get the look I wanted and, thankfully, I had a "eureka" moment.  

I have a package of those sticks made by Modge Podge that are used in a hot glue gun, melted and used to fill molds to make decorative shapes.  They are exactly the diameter, in 1:12 scale, that a standard 3" by 6" pillar candle would be.  Hurray!!  The ones I have are pure white - exactly what I was going for.  So, I gathered up some supplies and got started.  I used only one stick, and in truth only about half the stick, and cut it into 1/2" lengths to represent the 6" height of standard pillar candles.  Then I took a length of white covered floral wire, dipped the end of the wire in glue, made a tiny hole at the top of each candle and inserted the end of the wire into the top of the candle.  Then I clipped the wire to the length I wanted for the wick and moved on to the next candle.


Okay - I absolutely love these little candles!  They look so perfectly like actual candles and took only seconds to make.  My kind of mini!!

I thought that I would like to make the stand in two levels so I could insert one level of greenery between the two, then another one on the top to provide more bulk and realism.  So, I cut out a series of 1/2" circles for the bottom and 7/16 circles for the top.  I doubled up each layer to make them a little thicker and painted them brown to be less noticeable under the greenery I was using.


I added a small clear bead between the two levels to allow space to fit in the bottom layer of preserved lycopodium.


These two have the lycopodium glued in two layers.  The one on the left has since been trimmed down to a smaller diameter and to even out the ends of the greenery.  


I glued some ornaments to these two candles.  Don't you love how I don't wait until the glue is dry to take pictures?  I am sure these will look much better when you don't see those blobs of white.


Looking at the others that are left I think I may start experimenting with other ways of decorating.  I'm thinking just the bottom layer of lycopodium and the top circle covered in ornaments?  Or perhaps a flocked greenery with simple ornaments?  Stars?  Pine cones?  Hmmm - I can see a playtime coming up!

I started to think about the overall look I want for this little market stall and, in my mind's eye, I always imagined a shabby chic chair in the corner with a blanket draped over it or a special cushion on it, some rustic/shabby chic decorative items or linens for the shelves, etc.  I looked through my "stash" and found the perfect chair.  This little item was one of the first things I wrote about when I started my blog.  I had painted the ugly brown stained wood and embroidered the seat for it.  It has remained in my stash, waiting for just the right place to put it.  I think it is perfect for this corner.


So yes, the shelves are still quite empty but I have so many ideas I just can't settle on how I want to fill them.  


I hope that the next time you see this little project it will be all decked out in its final condition.  Although we all know how unlikely that is since, let's face it, is a miniature project ever truly finished or do we keep changing it over and over???  I know the answer from my standpoint and I suspect we are all the same on that issue!

Until my next post - stay safe and healthy!  God Bless.  TTFN!! - Marilyn