I'd like to welcome Jodi Hippler to our followers here. Jodi is a miniaturist from west coast U.S. who shares her amazing work with us on her own blog: My Miniature Madness. Right now she is working on a project using Greenleaf's Sugarplum Cottage. It's going to be amazing when she's done, I'm sure.
As for the progress of my Dorian's Attic project, I did get everything glued inside so I won't have to worry about it shifting around any more. Then I gave some serious thought to the outside back of the room box. I really hated the plain white wall, the boxed-out area that holds the window you can see inside, and the wiring and batteries just hanging there. I'll first share some more pictures of the interior and how it looked after everything was glued down, then show you what I came up with for a solution to the ugly back view. Remember that if you want to see the pictures better, just click on them for a larger view.
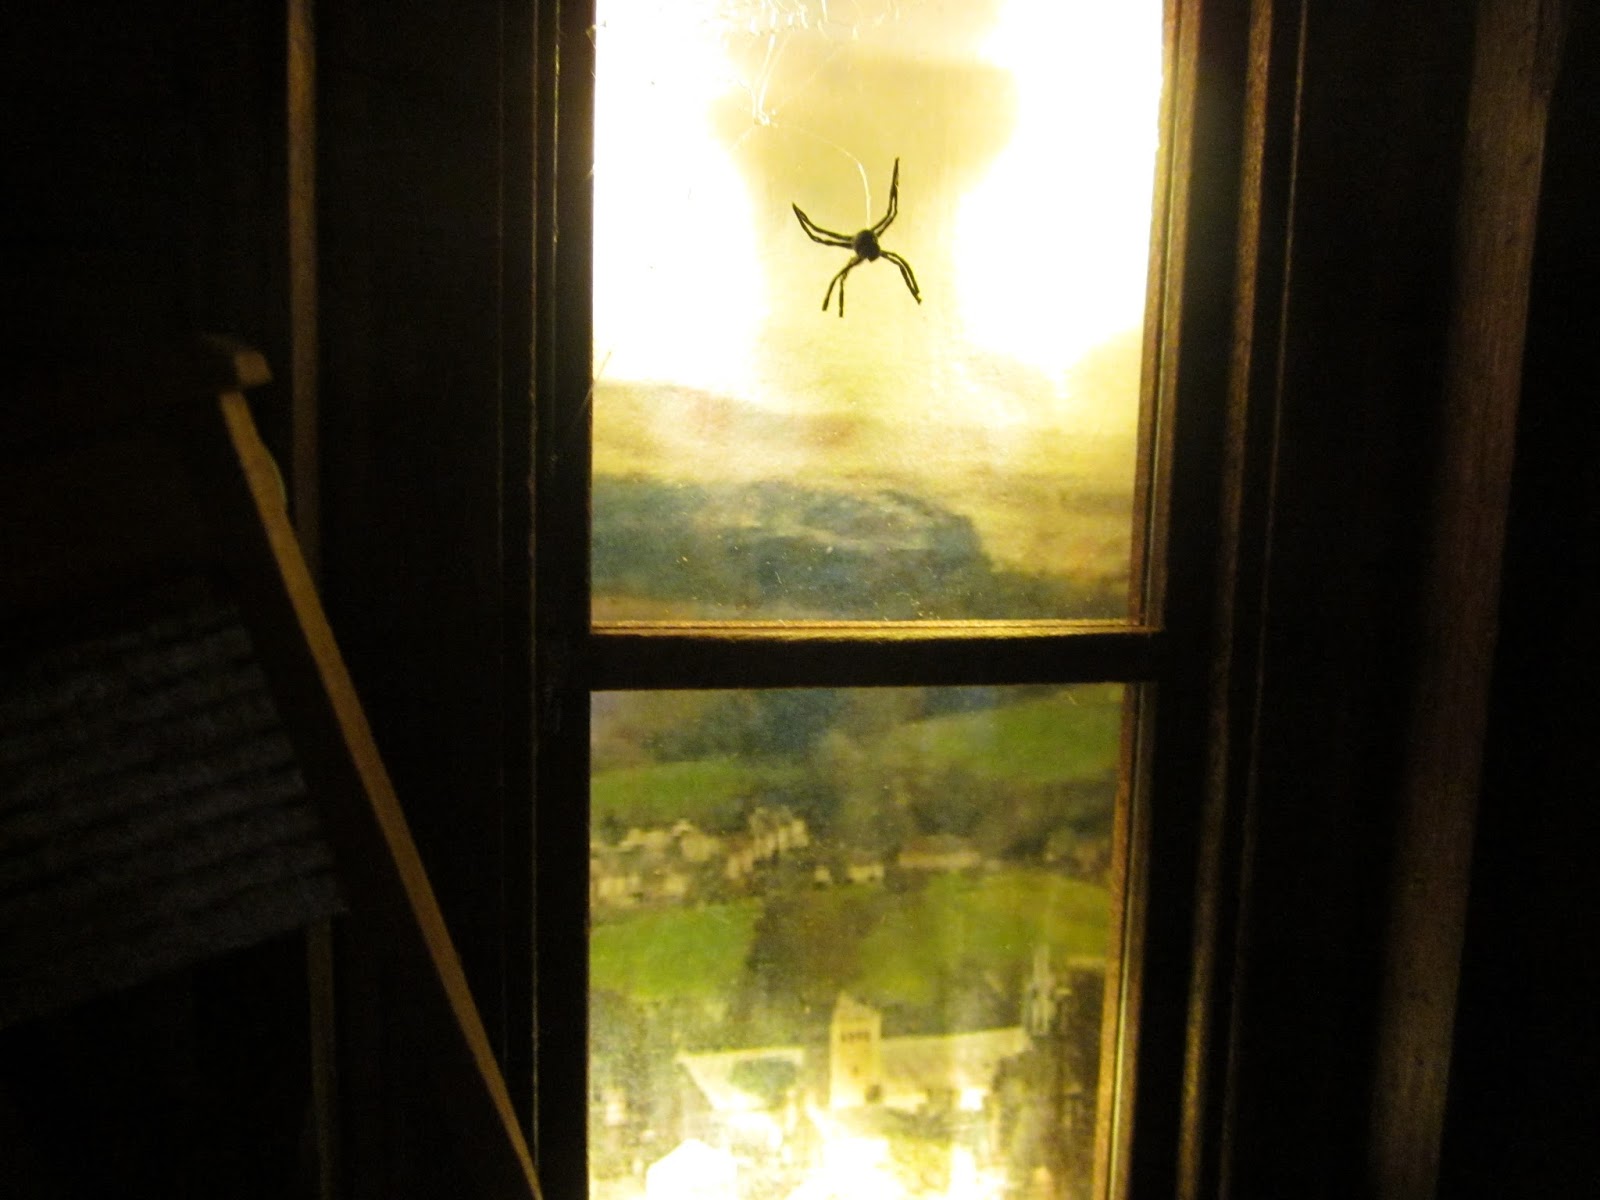
First - I have a better picture of my spider and his spider web, as well as the view I chose for showing outside the attic window. I took the time to check out dozens of pictures until I found one that actually looked like it was a view over neighbourhood rooftops and distant scenery. In the second picture, I have leaned the back wall out so you can see the wide wood planks, and the wall studs I chipped and gouged so they looked more aged - like you would expect to find in the attic. Also, you can clearly see the lath and plaster wall that covers the right hand, opening cover of the box.
 |  |
I actually really like how the lath and plaster turned out but, I must say, it did take a fair amount of time. I first had to slice all the coffee stirrers in half, lengthwise, because, even though these were the thinner wooden stirrers, they still looked too wide to be in scale for proper lath. Then I had to stain them all. I used the coffee stirrers in their full width, end on, to create the "studs" behind the lath, stained those as well, then started applying the lath. I wanted it to look as realistic as possible so I made them different lengths and staggered the joints. I also purposely broke some of them and applied the broken pieces because - I don't know about you but, I've never seen a lath and plaster wall that was completely intact. To install the lath, I glued the first few rows from the bottom up, then, using a small metal "spatula" to squish regular crack filling compound between the lath and the wall, and making sure there was plenty "leaking out" - also the way I have seen it in real life, I slowly made my way up the walls.
In the next photo I have leaned the back wall in the other direction and you can see how I installed the mirror on an angle by placing a wedge on the floor and the ceiling for the mirror to rest against (glued in of course). Then I went through the whole lath and plaster thing again - this time using larger pieces of wood to form a door frame, then built the lath around this. I think it does make you look twice when you're looking through the front of the room box - well, I think a lot of things I guess, but hopefully this thought isn't as crazy as most! - before you realize there really isn't another room beyond. |  |
So, now we have everything done that I wanted done inside - time to tackle that ugly back wall! As with most problems I have, the solution came to me a few days ago - about 3 o'clock in the morning, as I'm laying wide awake thinking - "What am I going to do to finish that d**n wall?!? How can I still have access to the switches and still cover everything up?!? Aha!! I got it!!"
I decided to make the back wall brick, using some of the textured brick paper I get from Grandpa's Dollhouse. I added this brick paper to either side of the window jut-out. In the first picture I have the wires and batteries picked up and placed on top of the books. I like the look of the bricks but just adding more to the centre portion would still leave the bare wires and the batteries showing outside. So - this had to be solved as well. I built a little box on the back of the window wall to hold the batteries off the table.
 |  |
Then I taped the wires down to the window wall, making sure the switches were close to the top and facing outwards for access. I built a framework for a chimney that would cover all this mess and covered the chimney in the brick paper. I used two pieces of 1/4" MDF, painted them to simulate large pieces of solid slate (or maybe concrete?? - I don't know, but it seems to work!), and installed them over the angled portion and across the top. Sliding this whole assembly against the back wall hides all the unsightly mess but, simply by pulling it away from the wall, I still have easy access to change batteries and to turn the lights on and off.
 |  |
 |  |
So, what do I have left to finish? I will be adding some trim to cover the edges of the gator board that shows at the top and bottom, on either side of the chimney, and installing magnets to both of the opening covers to make sure they stay closed when access is not needed. I also printed off some excerpts from The Picture of Dorian Gray to glue onto the side of the box and inside of the cover on the left hand side of the box (left - when you're looking at it from the front). I took a few paragraphs from early in the book, and a few from the very end, to put inside the cover - just to add a little interest (and also for all those people who have no idea what the heck this book is about anyway *tee he he*). |  |
 | I think I will also buy some terracotta-coloured Fimo and make two or three chimney pots to glue on the top of the chimney. So - none of these little finishing touches will make a very big visual difference to the actual finished project, so this will be the last entry for The Attic of Dorian Gray. I'll probably finish it off tomorrow then move on to the Irish cottage. So much to do on that one!!!! Thanks for following! TTFN!!! |